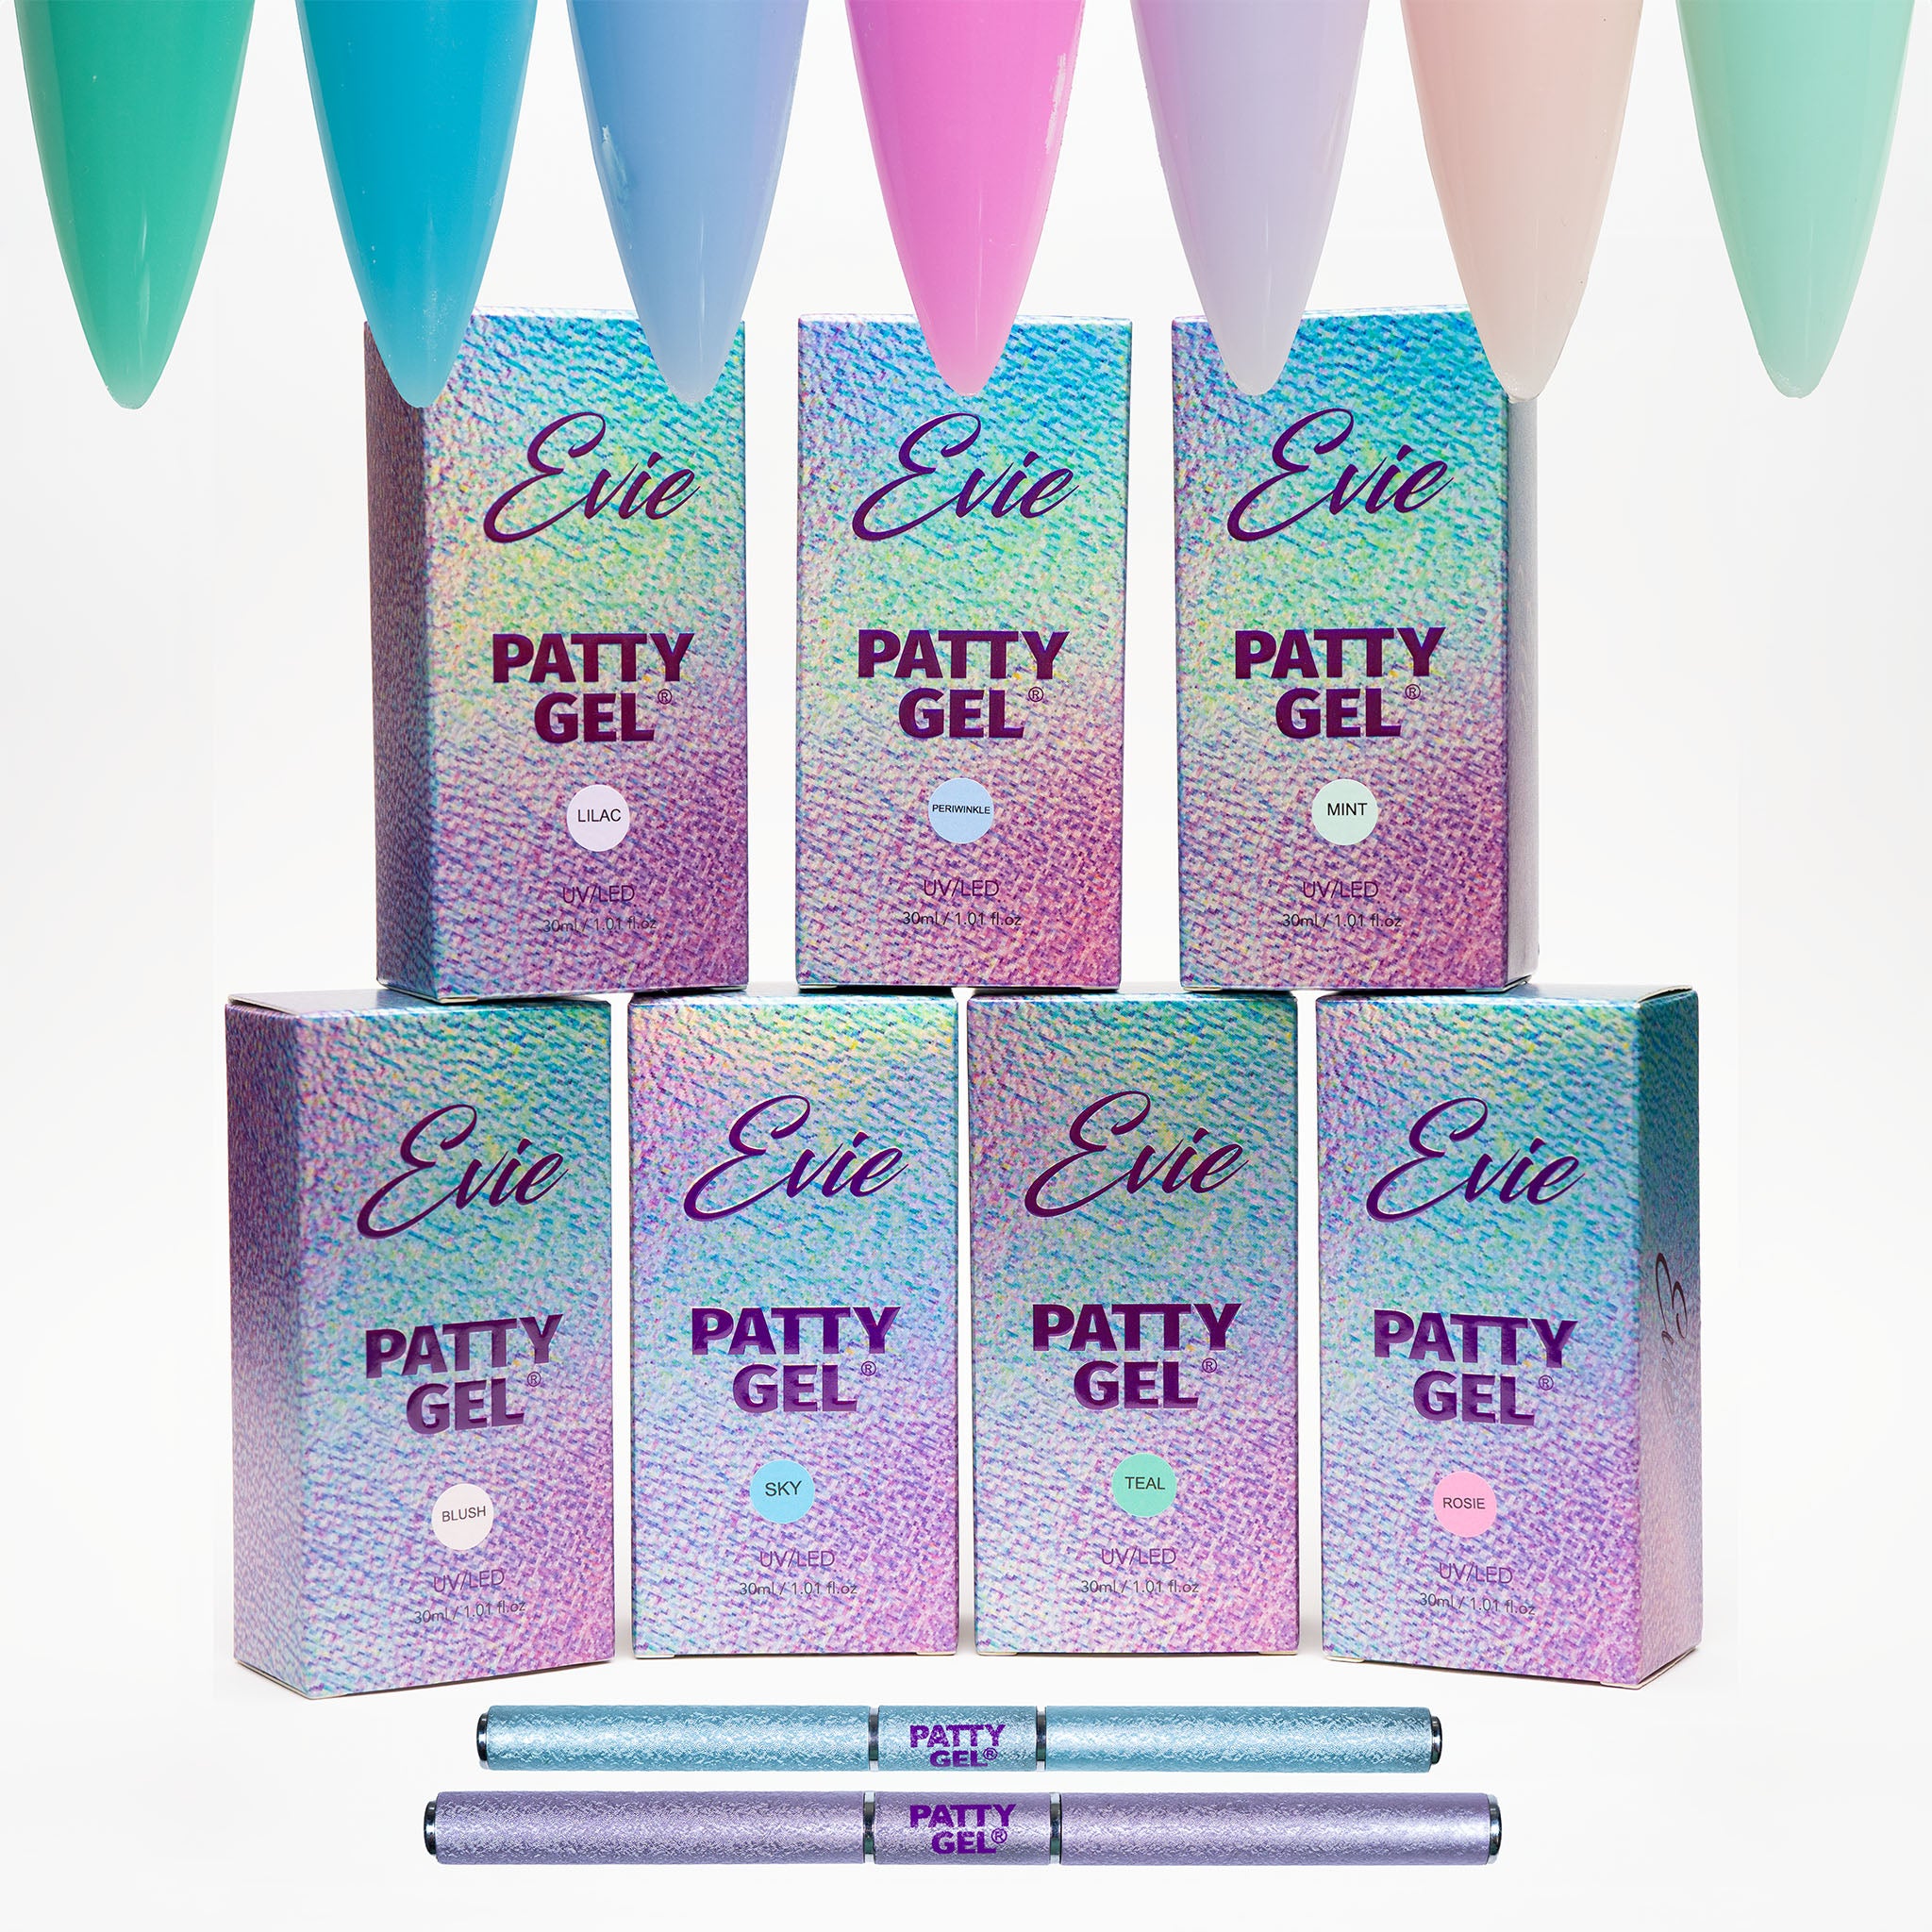
DIY Testing Beetles Tipex Lite Nail Tips (Plus the “Lite” Apex Difference)

DIY Testing Beetles Tipex Lite Nail Tips (Plus the “Lite” Apex Difference)

If you have ever tried Tipex nail tips and felt like the apex was too big, you are going to like this one.
I tested Beetles Tipex Lite (the “Lite” version of their acrylic sculpted tips that includes a built-in apex). The big change is exactly what you think it is: the apex is smaller and the tip is thinner, so it sits cleaner and feels more workable.
This is also part of my “keep it DIY, keep it real” nail routine. No fancy salon claims. Just fitting, prep, gluing, curing, shaping, and wearing them long enough to see how they hold up.
Table of Contents
- What makes Tipex different?
- Tipex Lite vs. regular Tipex: the apex comparison
- Which shapes come in Tipex Lite sets?
- How to size your Tipex nails so they do not look press-on
- Glue and base: what I used (and why)
- Application routine: cure, then shape
- The “less is more” manicure I finished
- My longevity check: do Tipex Lite nails actually stay on?
- Extra: Kupa Kulr Solid Cream palette (quick swatch-style note)
- FAQ
- Bottom line
What makes Tipex different?
Beetles Tipex nails are acrylic sculpted tips with a built-in apex. That is what helps them blend and hold structure, kind of like how other systems use pre-built forms.
The original Tipex line is loved, but some people find the apex noticeably large. Sometimes you end up filing it down a lot, especially if you want a natural look or you prefer a less bulky nail silhouette.
Beetles addressed that by making a Tipex Lite version with a smaller apex and a thinner overall nail.
Tipex Lite vs. regular Tipex: the apex comparison
The easiest way to explain the difference is by what your hands feel like.
- Tipex Lite feels thinner and more “workable.”
- Regular Tipex feels thicker with a bigger apex (and it is very difficult to squeeze).
When I compared the two side by side, I could see the thickness difference on the inside curves as well.

Key takeaway: Tipex Lite has a much smaller hump, so it is easier to get a balanced nail shape without over-filing the structure.
I also noticed that Tipex Lite has a sLite bit more bounce compared to the regular tips. It still is not “soft,” but it is less stubborn when you are positioning and refining.
Which shapes come in Tipex Lite sets?
The Lite sets I worked with included multiple sizes across shapes. In my box, I had tips in a mix of sizes (like stiletto and almond options), plus preset cutouts you can use depending on your preferred nail bed fit.
I am personally picky about fit because I have long nail beds, so some cutouts do not automatically sit right. The good news is: you can always do a little refinement so the tips match your cuticle curve.
I also checked other shapes from the broader Tipex lineup (like coffin, square long, and almond). Coffin was giving “this is me” energy, and it ended up being my pick.
How to size your Tipex nails so they do not look press-on
This part matters more than people think. You can have the best tips in the world and still end up with that “press-on gap” look if sizing is off.
Here is how I sized and refined them:
- Fit around your cuticle area. If the gap shows at the cuticle, it will look cheap.
- Make sure it fits sidewall to sidewall. Do not squeeze it down to make it fit.
- Correct size = longer wear. If you force a too-small tip, it is more likely to pop off early.
- Take the time to shape. A little filing makes a big visual difference.

I also used filing to “true up” the shape so it sat naturally on my curvy nail bed areas.
Glue and base: what I used (and why)
I removed my old acrylic set, filed/soaked everything off, and then started fresh with prep.
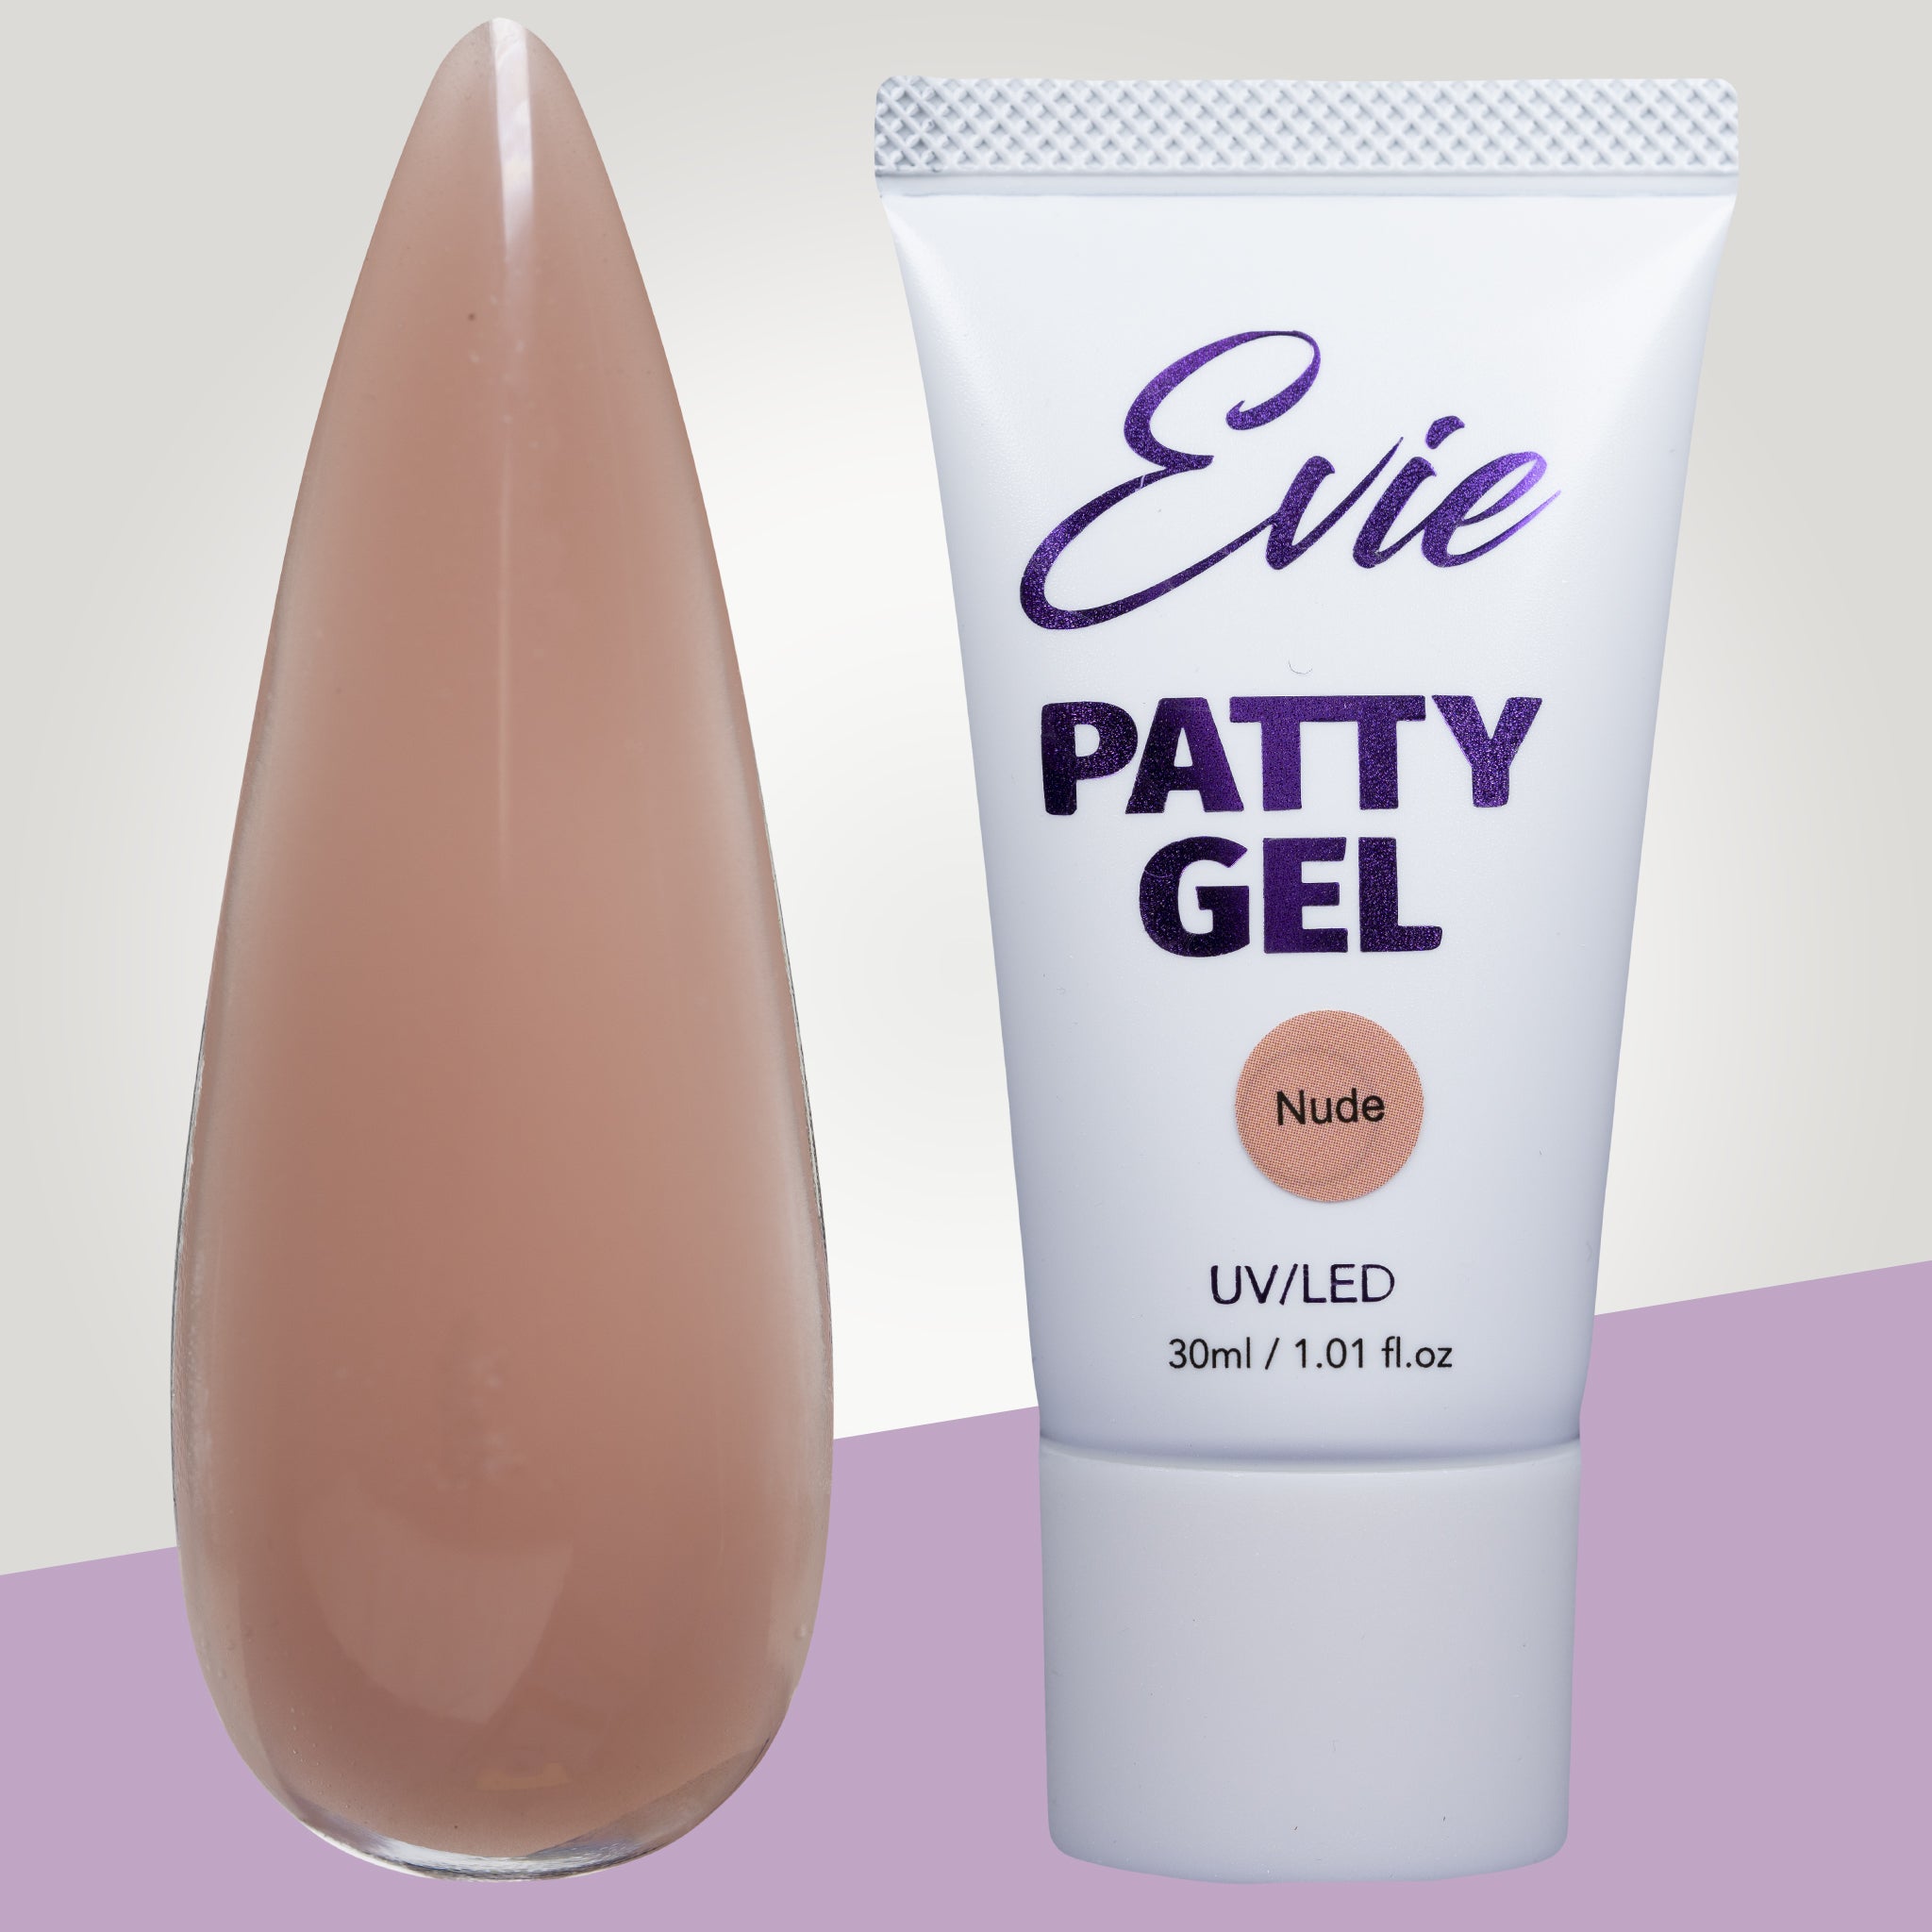
For the base, I used a Jello Jello Pillow Base system (and I tested it specifically with Tipex Lite).
I applied the tips with Tipex non-wipe glue, which I liked because it felt “hands-free” and not loose. That matters because you need control while you position the tip.
When applying glue, I avoid flooding. I used enough to get a secure bond but kept it controlled so cleanup stays manageable.
Application routine: cure, then shape
The workflow looked like this:
- Apply base and cure.
- Use the Tipex non-wipe glue on the tip.
- Press firmly, then cure with a flash cure.
- Finish with a full cure in a stronger lamp.
- Shape with drill and files.
- Clean off dust and seal the look with top coat and cuticle oil.

Once they were on, I did the usual cuticle shaping and cleanup. Because my nails are a little curvy near the cuticle area, I find I need to refine the edges so the gel does not look messy or bulky there.
The “less is more” manicure I finished
I wanted something simpler after a more intense earlier hand. So I went with a clean, sheer syrup pink style.

That ended up being my favorite part of the whole test. With Tipex Lite, the apex sat at a sweet spot, so the nail silhouette looked neat without that chunky ring-finger feeling I got with the regular Tipex apex.
Final vibe: clean American manicure energy, but with an overlay system that still looks sculpted and polished.
My longevity check: do Tipex Lite nails actually stay on?
I did a wear update about a week in. At that point, the nails had not budged. My cuticles were crusty (that is just normal life and nail prep reality), but the bond was still solid.
So yes, they felt strong. And for me, the smaller apex helped the nails look more natural while staying sturdy.
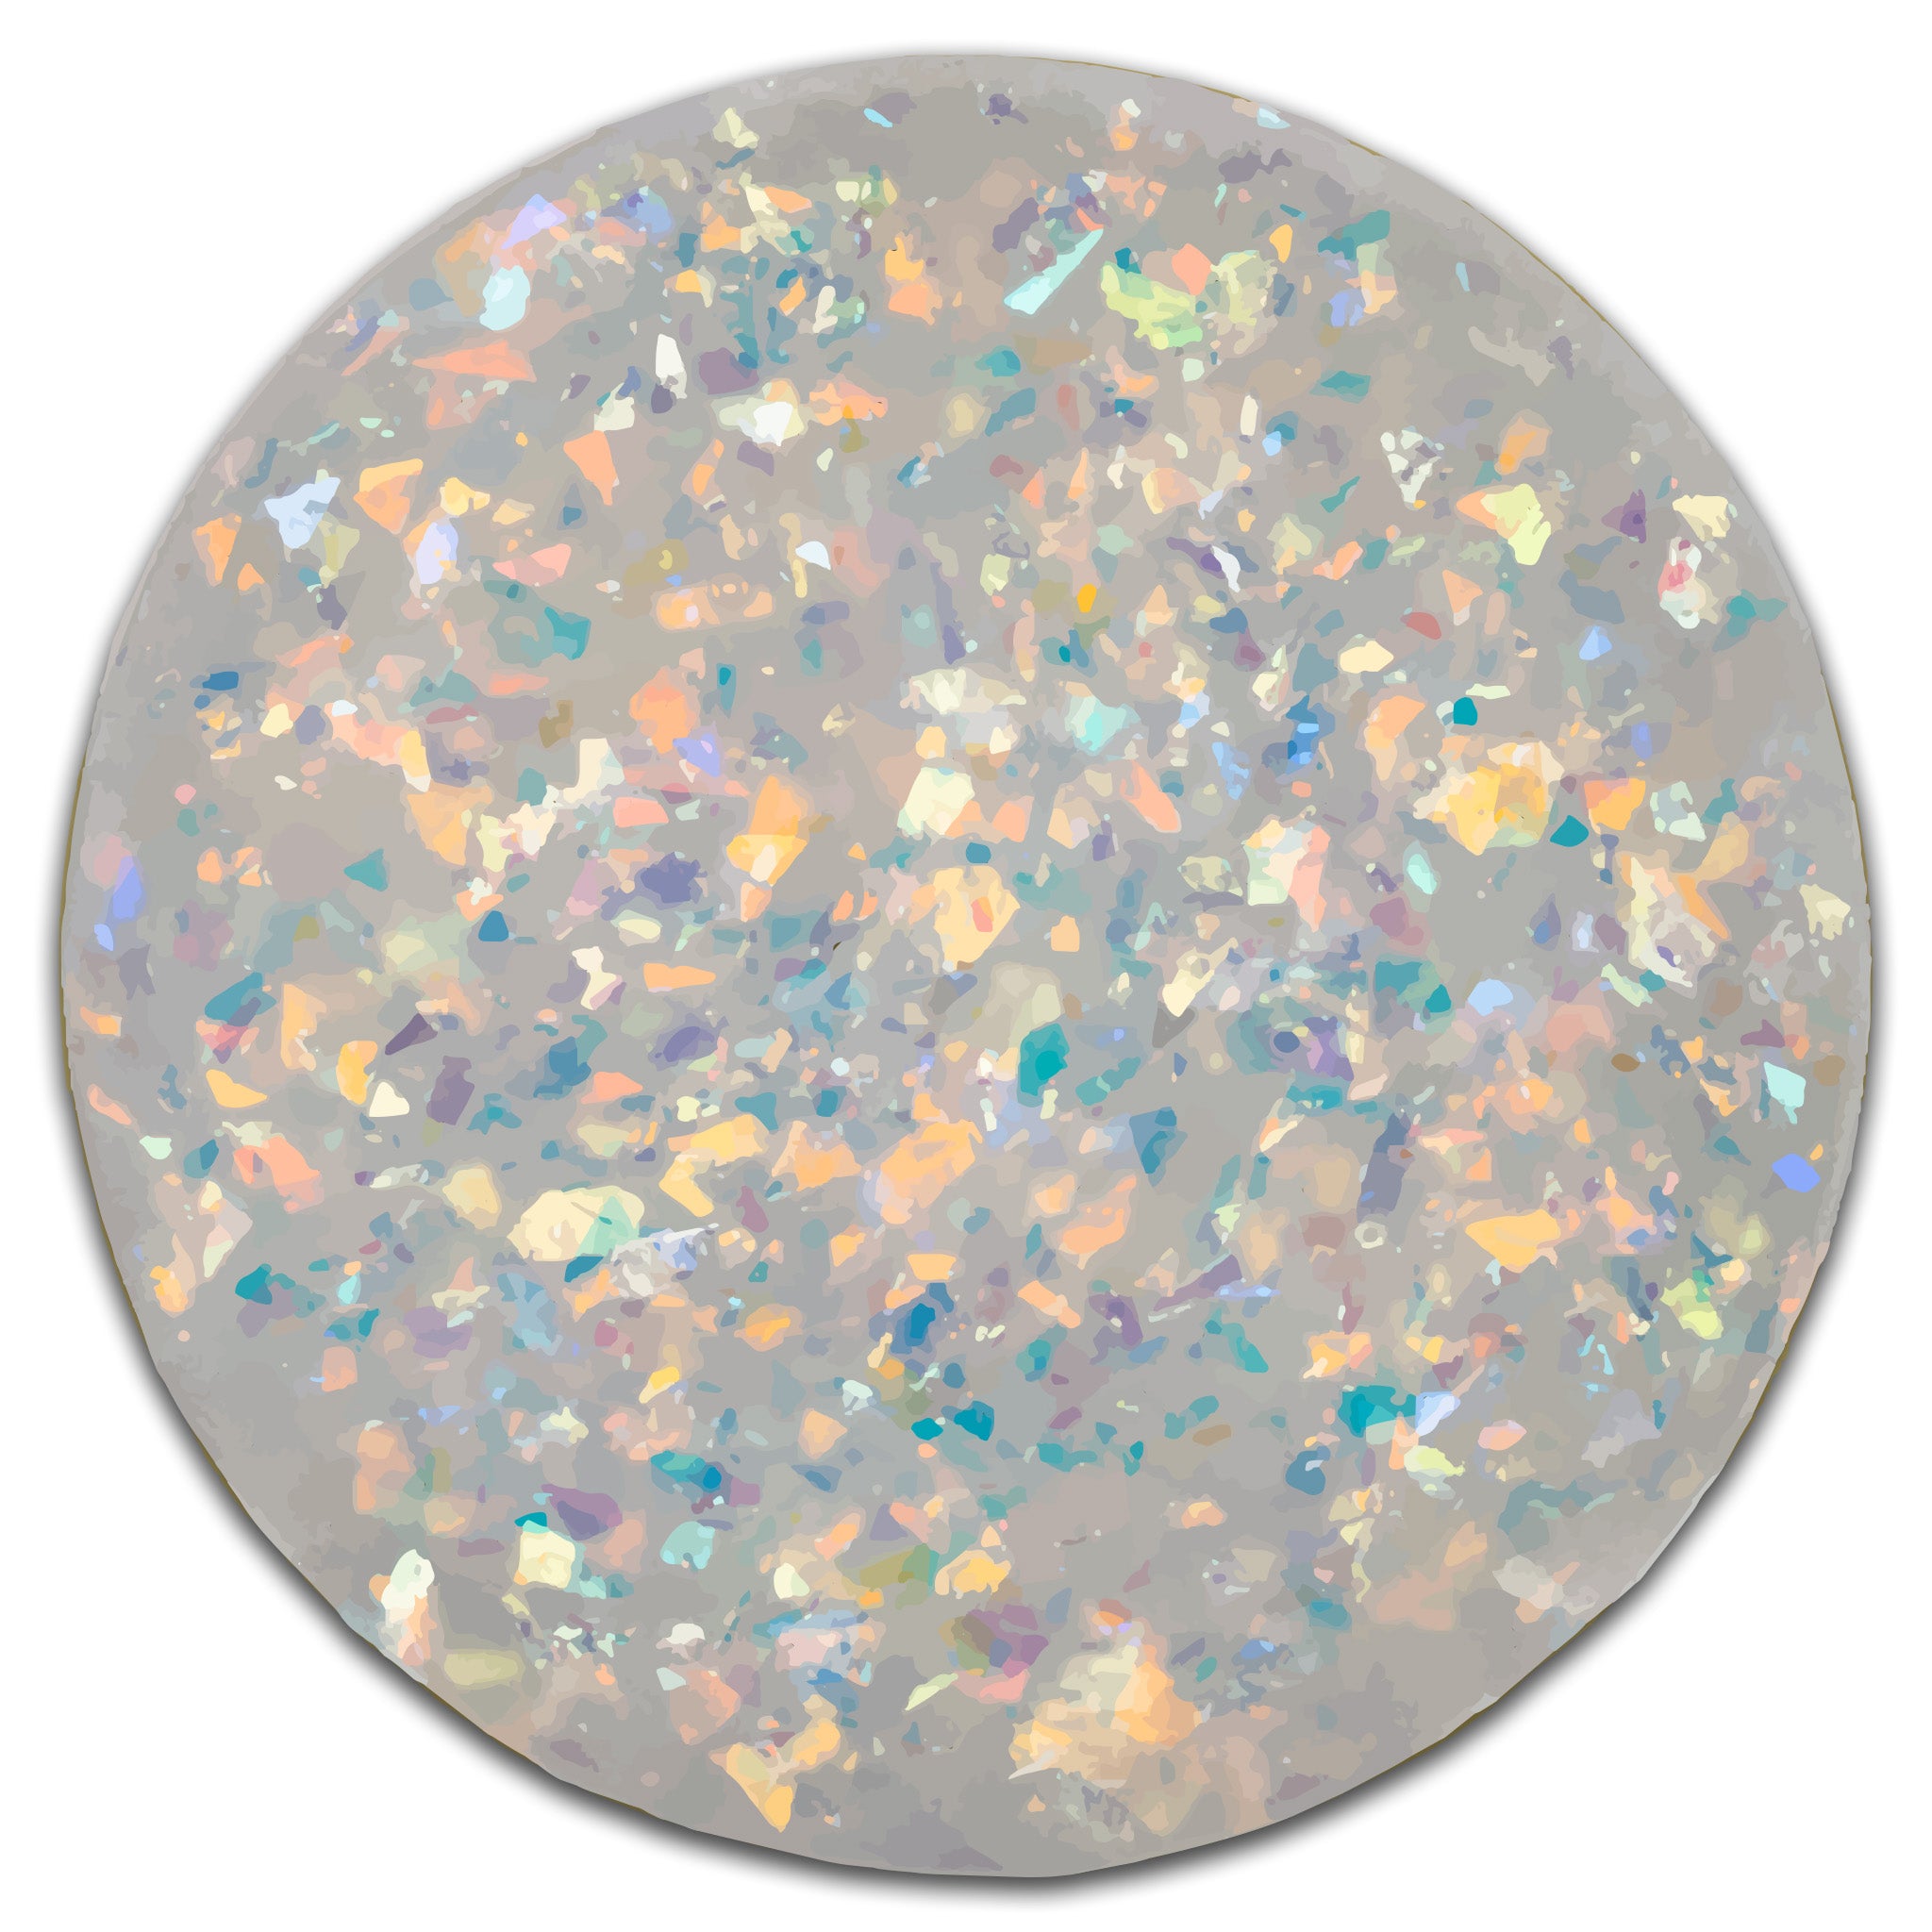
Extra: Kupa Kulr Solid Cream palette (quick swatch-style note)
Between nail steps, I also played with a Kupa solid cream gel palette (eight cream shades in a case with pods, plus a double-sided brush). If you like smooth application and rich pigment that still glides nicely, cream gels can be a really fun contrast to tip-based sculpted nails.
I noticed coverage was strong, and many shades looked good with a couple thin coats. The texture felt different from typical palettes I have tried, more smooth and less “fight it” thick.
FAQ
Are Beetles Tipex Lite tips good for long nail beds?
They can be, but you still need to size and refine. I struggled with some of the cutouts because my nail beds are long, so the best results came from fitting each nail and shaping around the cuticle curve.
What is the main advantage of Tipex Lite over the regular Tipex?
The apex is smaller and the tip is thinner, which makes it easier to get a natural look. It also helps prevent a bulky look, especially on nails like the ring finger that tend to be curvier.
Do Tipex Lite nails feel flexible?
SLitely more “giving” than regular Tipex, but they are still firm. They are not soft gel, so you still need careful pressure and precise sizing.
How do I avoid that “press-on gap” at the cuticle?
Fit the tip so it hugs your cuticle area without squeezing. Make sure the tip covers sidewall to sidewall, then take a little extra time filing so the curve matches your natural cuticle shape.
What is the easiest way to improve wear time?
Use the correct tip size and do not force a too-small fit. Also, cure fully after flash curing, and clean up excess gel and glue around the edges before you finish.
Bottom line
If you loved Tipex but hated that big apex feeling, Beetles Tipex Lite is the upgrade. The smaller hump helps nails look cleaner, feels more workable during shaping, and still holds strong after a week.
Tipex Lite from here on out is honestly the conclusion I walked away with.