How to Remove Polygel Nails at Home
How to Remove Polygel Nails Safely and Effectively at Home 💅
Have you ever wondered how to take off those stunning yet stubborn polygel nails without damaging your natural ones? Well, you’re in luck! In this step-by-step guide, I’ll show you how to remove polygel nails like a pro, using a tried-and-true method that works for acrylic, dip powder, and polygel nails. Let’s dive in! 😊
1. Why Remove Polygel Nails at Home?
Polygel nails are gorgeous and durable, but they can be a challenge to remove. Visiting a salon every time isn’t always convenient (or budget-friendly). With a little patience and the right tools, you can safely remove them at home without harming your natural nails.2. Tools You'll Need: 🛠️
- Large nail nippers for trimming length
- E-file or hand file
- 100% acetone nail polish remover
- Cotton pads
- Aluminum foil
- Nail dust collector (optional, but great for handling dust)
- Cuticle oil
3. Step-by-Step Process for Removing Polygel Nails
Step 1: Clip Off the Length
Use large nail nippers to carefully trim down the length of your nails. Polygel nails can be thick, so this might require a bit of hand strength.


Step 2: File Down the Product
Using an e-file (or a hand file if preferred), file down as much of the polygel as possible. Be careful not to file too close to your natural nail—this prevents damage. Don’t worry if there’s still some product left; the acetone soak will handle the rest.


Step 3: Prepare the Soak
Cut cotton pads into halves for better coverage.

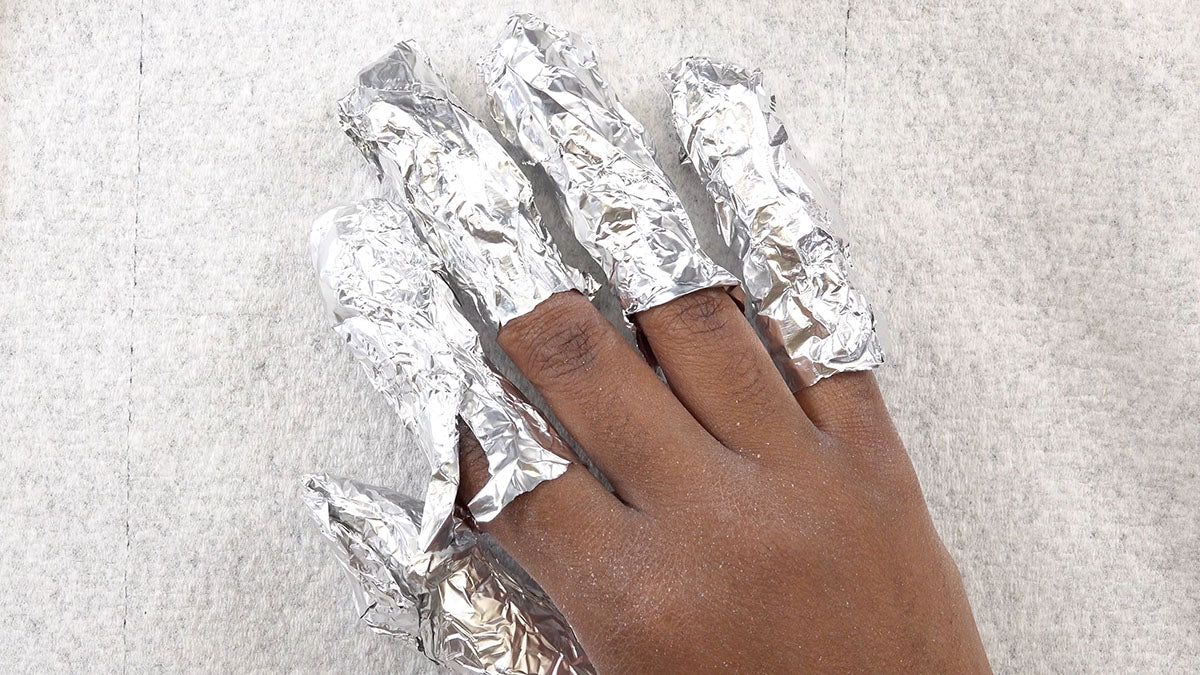
Tear aluminum foil into pieces large enough to wrap around each finger.

Saturate the cotton pads with acetone and place one on each nail.

Wrap it tightly with aluminum foil to lock in moisture.


Pro Tip: Polygel takes longer to soften than acrylic, so patience is key!
Step 4: Wait and Check
Let your nails soak for about 45 minutes. When unwrapping, gently scrape off softened polygel using a cuticle pusher. If the product resists, rewrap and soak for another 20 minutes.

Step 5: Remove Residual Product
Repeat the process of soaking and scraping until all the polygel is gone. A hand file can help remove stubborn spots.

Step 6: Nourish Your Nails
Once all the polygel is off, wash your hands and apply a generous amount of cuticle oil. Massage it into your nails and surrounding skin to restore hydration and prevent dryness caused by acetone.


4. Tips for Best Results
- Use a dust collector to minimize mess while filing.
- For sensitive skin, wrap fingers in foil carefully to avoid acetone leaks.
- Acrylic nails are quicker to remove compared to polygel. If time is a concern, consider acrylic for your next set.


