Glitterquarium Starter Kit Review: My DIY Aquarium Nails Test (and What Actually Prevented Leaks)

Glitterquarium Starter Kit Review: My DIY Aquarium Nails Test (and What Actually Prevented Leaks)

If you’ve been eyeing glitter aquarium nails but the process feels intimidating, this Glitterquarium Starter Kit Review breaks down what matters most: the tools, the technique, and the one step that saved my sanity when my first attempts started leaking.
I used Kassie Payne’s Glitter Aquarium Nail Kit, which comes with “everything you need” style packaging, plus a few key products that make aquarium builds easier (and sturdier). I also tested a couple of seal and glue options, because aquarium nails are unforgiving. If the tank leaks, everything you packed inside is about to become a patch job.

Table of Contents
- What’s in the Glitter Aquarium Nail Kit?
- Before You Start: Choose the Right Length for the Glitter Effect
- How I Prepped the Nails (and Marked Where the Tank Should Stop)
- The Most Important Part: Sealing the Top (No More “Mystery Leaks”)
- My Trial-and-Error Results: Why I Redid Nails (Twice)
- Leak-Proof Tip Test: The Alcohol Check
- How I Fixed the One Leaky Nail
- Filling the Tank With Glitter: How I Ordered the Colors
- Adding Builder Gel, Nail Bed Color, and the Final Design
- Top Coat + Metallic Mirror Effect
- Final Thoughts: Is the Glitterquarium Starter Kit Worth It?
- FAQs
- Want the Core Method in One Checklist?
What’s in the Glitter Aquarium Nail Kit?
The kit feels curated. It is not just glitter in a jar and “good luck.” You get dedicated tools and the components needed to build the aquarium “tank” look.
- Accessories: nail file, buffer, and a manicure stick set
- LED lamp: included if you do not already own one (needs AAA batteries)
- Brushes: a nail art brush plus a cute mermaid tail brush
- Scoop: a tiny scooper helps portion glitter into the tip
- Applicators and bases: seabed base, and an applicator tip for easier gel application
- Seal it gel: included as the primary “seal the tank” gel
-
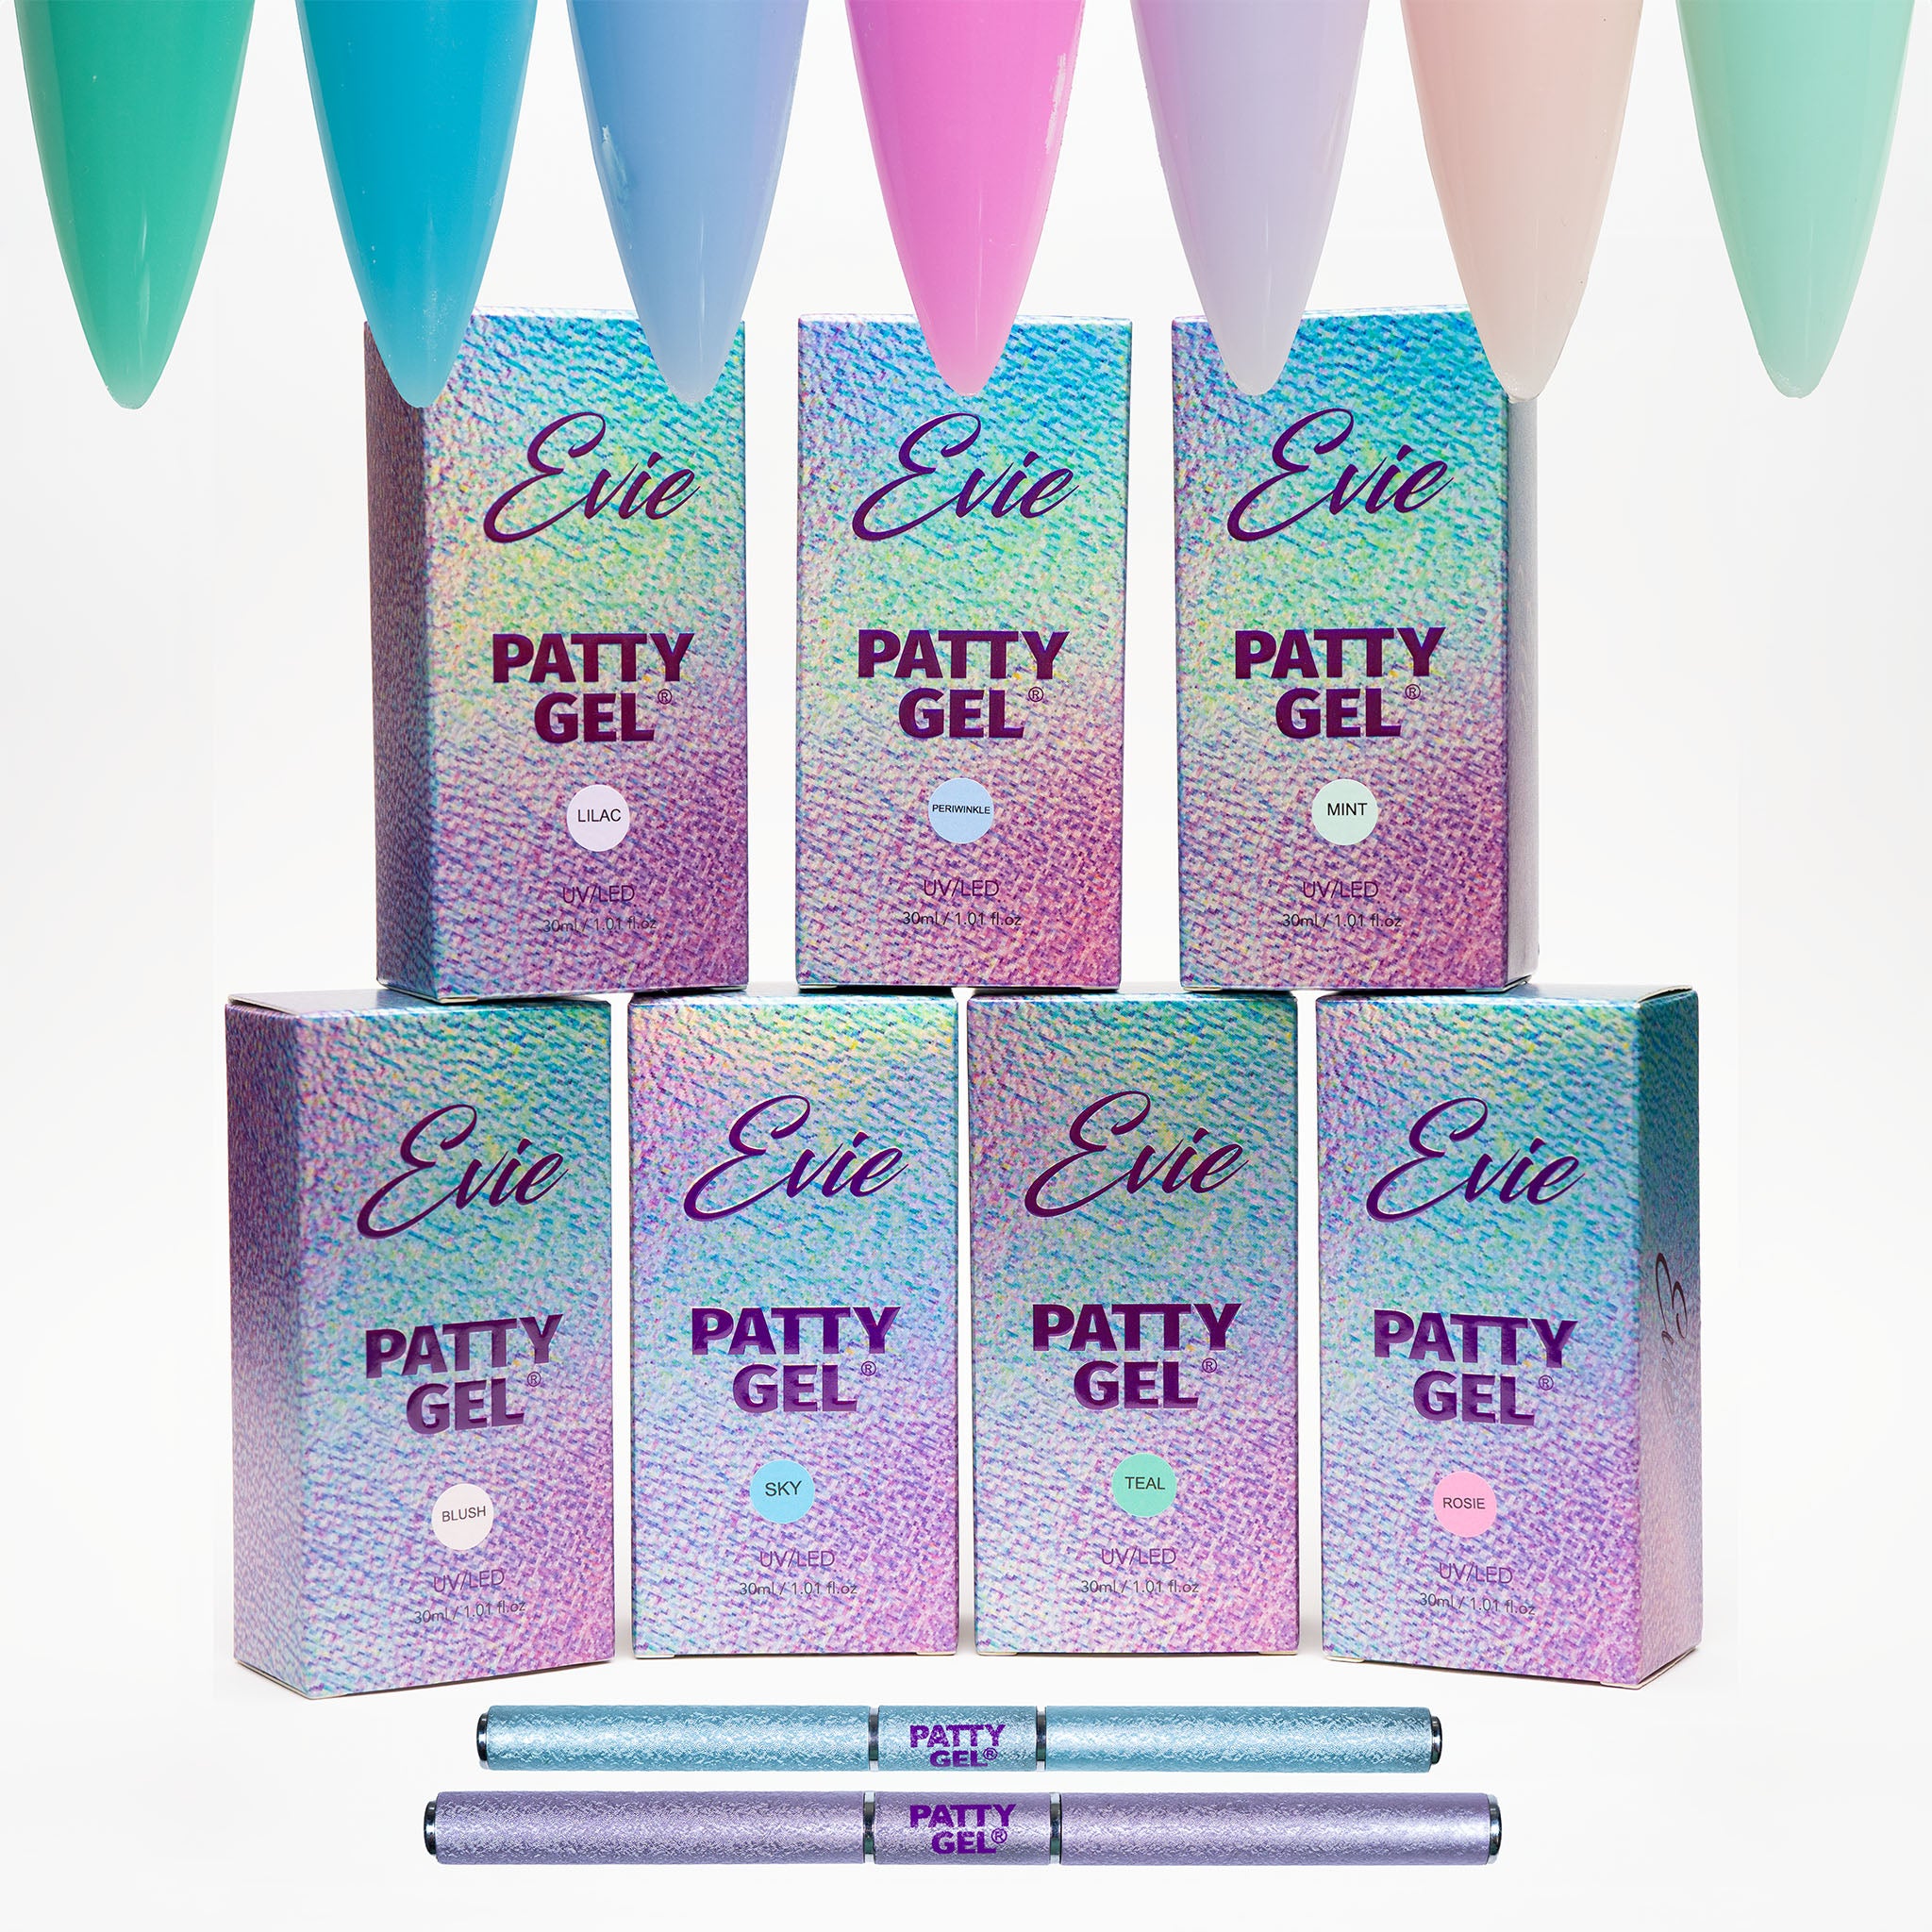
Glitter shades:
- Twilight Depths (blue)
- Sea Witch (purple)
- Moonlit Surf (silver)
- Tank tips: long tips and a guide card system for shaping
The “let your nails make waves” vibe is real, but the real value is that the kit is designed specifically for the aquarium method, not a random mashup of supplies.
Before You Start: Choose the Right Length for the Glitter Effect
Aquarium nails look best when there’s enough depth to show movement and sparkle. I initially questioned the tip length, but once I remembered the “too short and you cannot see anything” problem, I kept a little extra length.
My rule: if your tank is too shallow, the glitter becomes “regular glitter” instead of “look at that depth.”

How I Prepped the Nails (and Marked Where the Tank Should Stop)
Prep is where aquarium nails either become stable or become risky.
- Cut down and file your natural nails as short as possible to create a clean base.
- Use the guide dots to mark where the nail bed should end. This helps you avoid going too deep and later not having room to attach the tip correctly.
- Build “baby tanks” first so you can cure and test the seal.
I kept checking for even coverage because tanks need consistent gel thickness to avoid weak corners.
The Most Important Part: Sealing the Top (No More “Mystery Leaks”)
Here’s the moment that really changed my results. One of Kassie Payne’s tips is to seal the top with a dollop of the sealant gel, then spread it so it fully covers the tank opening.
I did notice something that matters:
- The sealant gel is thicker than a lot of base gels.
- That thickness is what helps it sit, seal, and protect the tank opening.

My Trial-and-Error Results: Why I Redid Nails (Twice)
This is the part I wish everyone could skip, because aquarium nails are already a time investment. But testing matters because every kit behaves slightly differently.
I ran into leaking with my first set of attempts. My conclusion was basically this:
- The base gel felt a little too thin for my build
- The tips included in the kit were not sealing the way I needed (for my preferences and application style)
I ended up restarting. During the redo, I changed two things:
- I stopped using the kit’s base gel for the tank build portion
- I used a different approach for the sealing system (and it worked better)
Even then, only one nail leaked on the third full attempt, and it leaked in a tiny corner, not everywhere. That was progress.
Leak-Proof Tip Test: The Alcohol Check
Let me tell you: this is the step that saves you when you are too far in the process to recover emotionally.
I held a little alcohol inside each tank to test for leaks, checking from all angles. This step is quick compared to what it costs if you skip it.
- Good tanks: alcohol stays put
- Bad tanks: you spot seepage in corners and immediately know where to reinforce

How I Fixed the One Leaky Nail
When I found the leak, I reinforced the corner area. I chose the seal it gel because it’s harder and easier for me to keep crisp edges after curing.
My approach:
- Glob sealant over the leaking corner
- Spread lightly so it covers beyond the suspected hole
- Cure
- Re-test with alcohol
After that, I was good. Of all five nails, only one had leaked before reinforcement. That felt like a win.
Filling the Tank With Glitter: How I Ordered the Colors
Once the tanks were sealed, the fun part started: packing the glitter inside. I used all three shades and kept a blue-dominant look.
My order: blue, purple, blue, silver, blue.

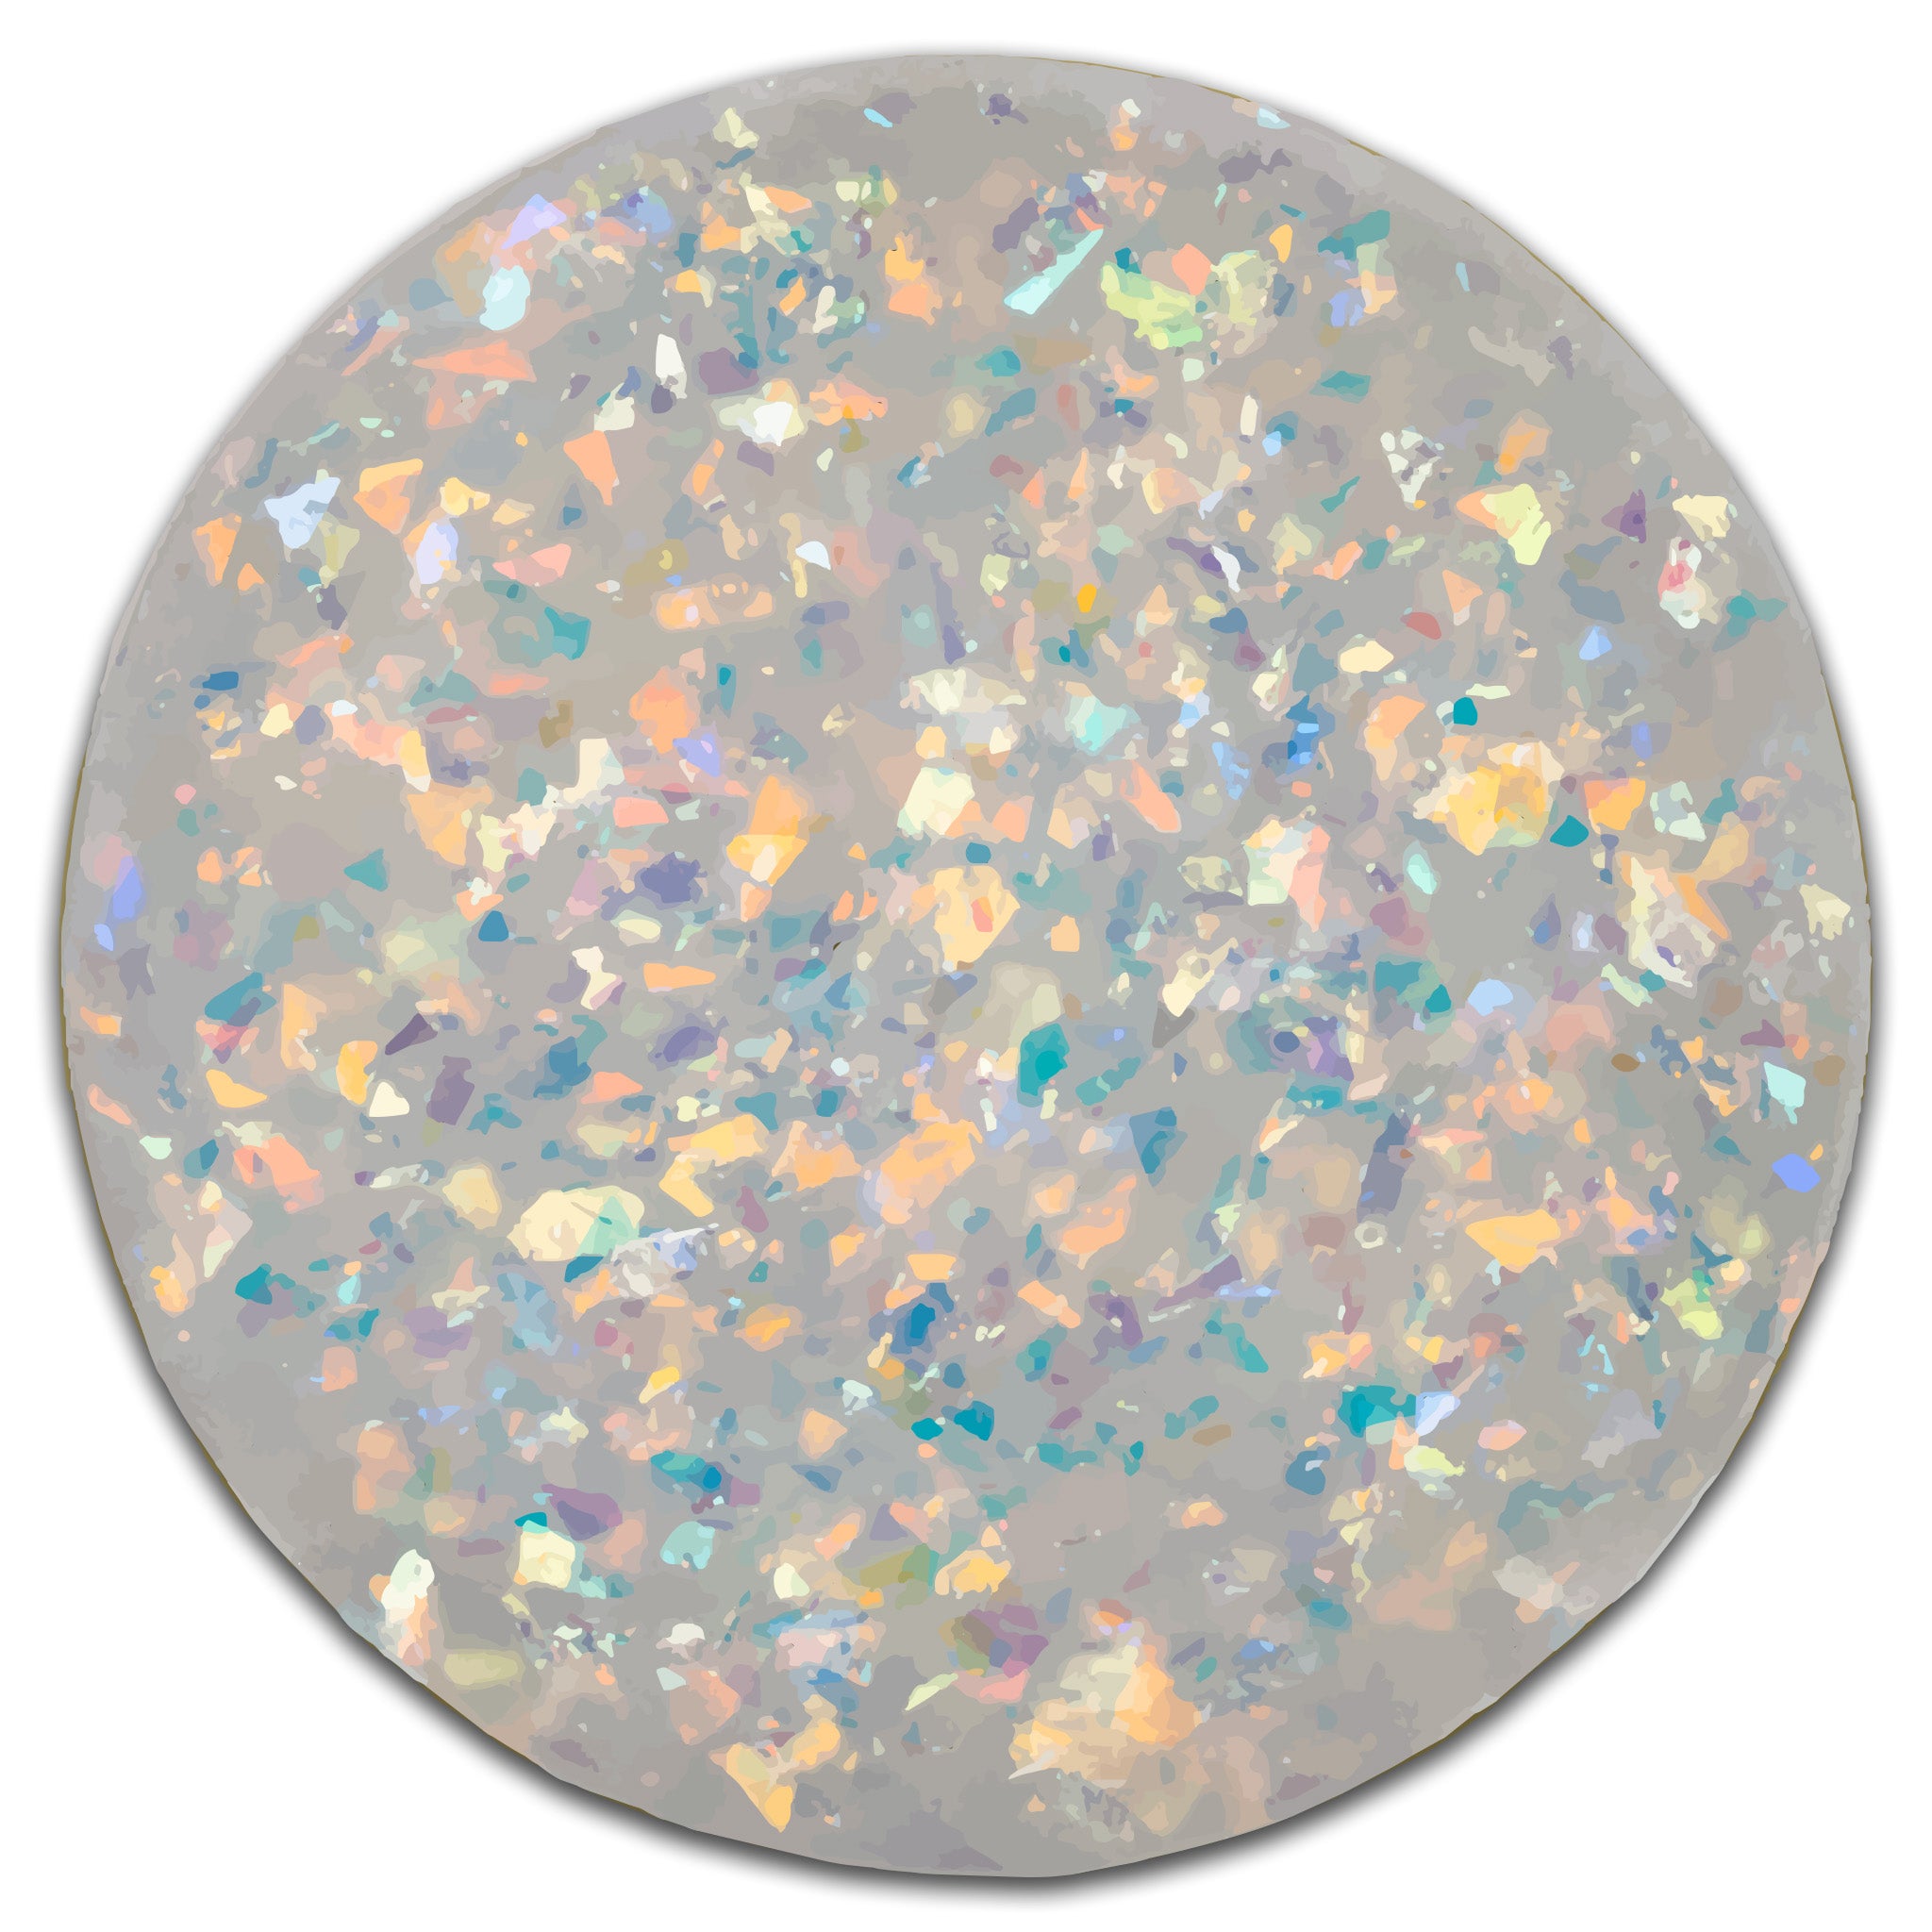
Why the Glitter Looks Different in Different Lighting
This glitter is not just “sparkly.” It is reflective, and the effect becomes extra obvious with flash.
I noticed this when filming in different lighting conditions: under some light it looks like dense shimmer, and under flash it can look almost static-like or super dimensional.
Adding Builder Gel, Nail Bed Color, and the Final Design
After the tanks were built, the next priorities were stability and blending.
- Blend the cuticle area with builder gel so the tank looks seamlessly attached
- Paint a nail bed color to camouflage and create a natural gradient feel
- Add line work and small details inside your design
I used a color-blocked, wavy style as the base look, then added crystals for a little “aquarium sparkle tax.”

Top Coat + Metallic Mirror Effect
To get that reflective, mirror line look, I used a metallic liner effect and made sure I used a top coat that supports the finish. The difference between “pretty glitter” and “wow, is that moving?” is the final shine layer.
Final Thoughts: Is the Glitterquarium Starter Kit Worth It?
Yes, with two big caveats.
- Pros: the kit gives a complete system, and the seal it gel is excellent for hard, confident tank sealing
- Pros: the glitter looks way better than it does in the jar once it is packed into the tank and hit with flash
- Cons: aquarium builds can be sensitive to base gel viscosity and tip sealing behavior
- Cons: expect to take your time. I redid my set multiple times before I got consistent results
If you like aquarium nails, this kit is a strong starting point. If you hate rework, use the leak test step and seal the top like you mean it.
FAQs
How do I stop aquarium nails from leaking?
Seal the tank top with a thicker sealant gel layer, then test with alcohol before you fill with glitter and decorate. If you catch a leak early, you can reinforce the corner and re-test.
Do you need long nails for glitter aquarium nails?
Longer nails help the effect. Short tanks often do not give the same depth, so the glitter looks flatter and less dramatic.
Is the seal it gel necessary?
In this method, it’s one of the most important products. The seal it gel is thicker and hard, which helps create a dependable seal, especially at the tank opening.
Why does the glitter look different in flash?
The glitter is reflective. Under flash or low-light, the shimmer can look more dimensional and “alive” compared to normal indoor lighting.
Want the Core Method in One Checklist?
- Prep well and shape clean edges
- Mark your tank stop point so you do not lose attachment room
- Seal the top with a dollop and spread evenly
- Alcohol leak test before you fill and decorate
- Reinforce corners immediately if you find seepage
- Pack glitter and cure thoroughly
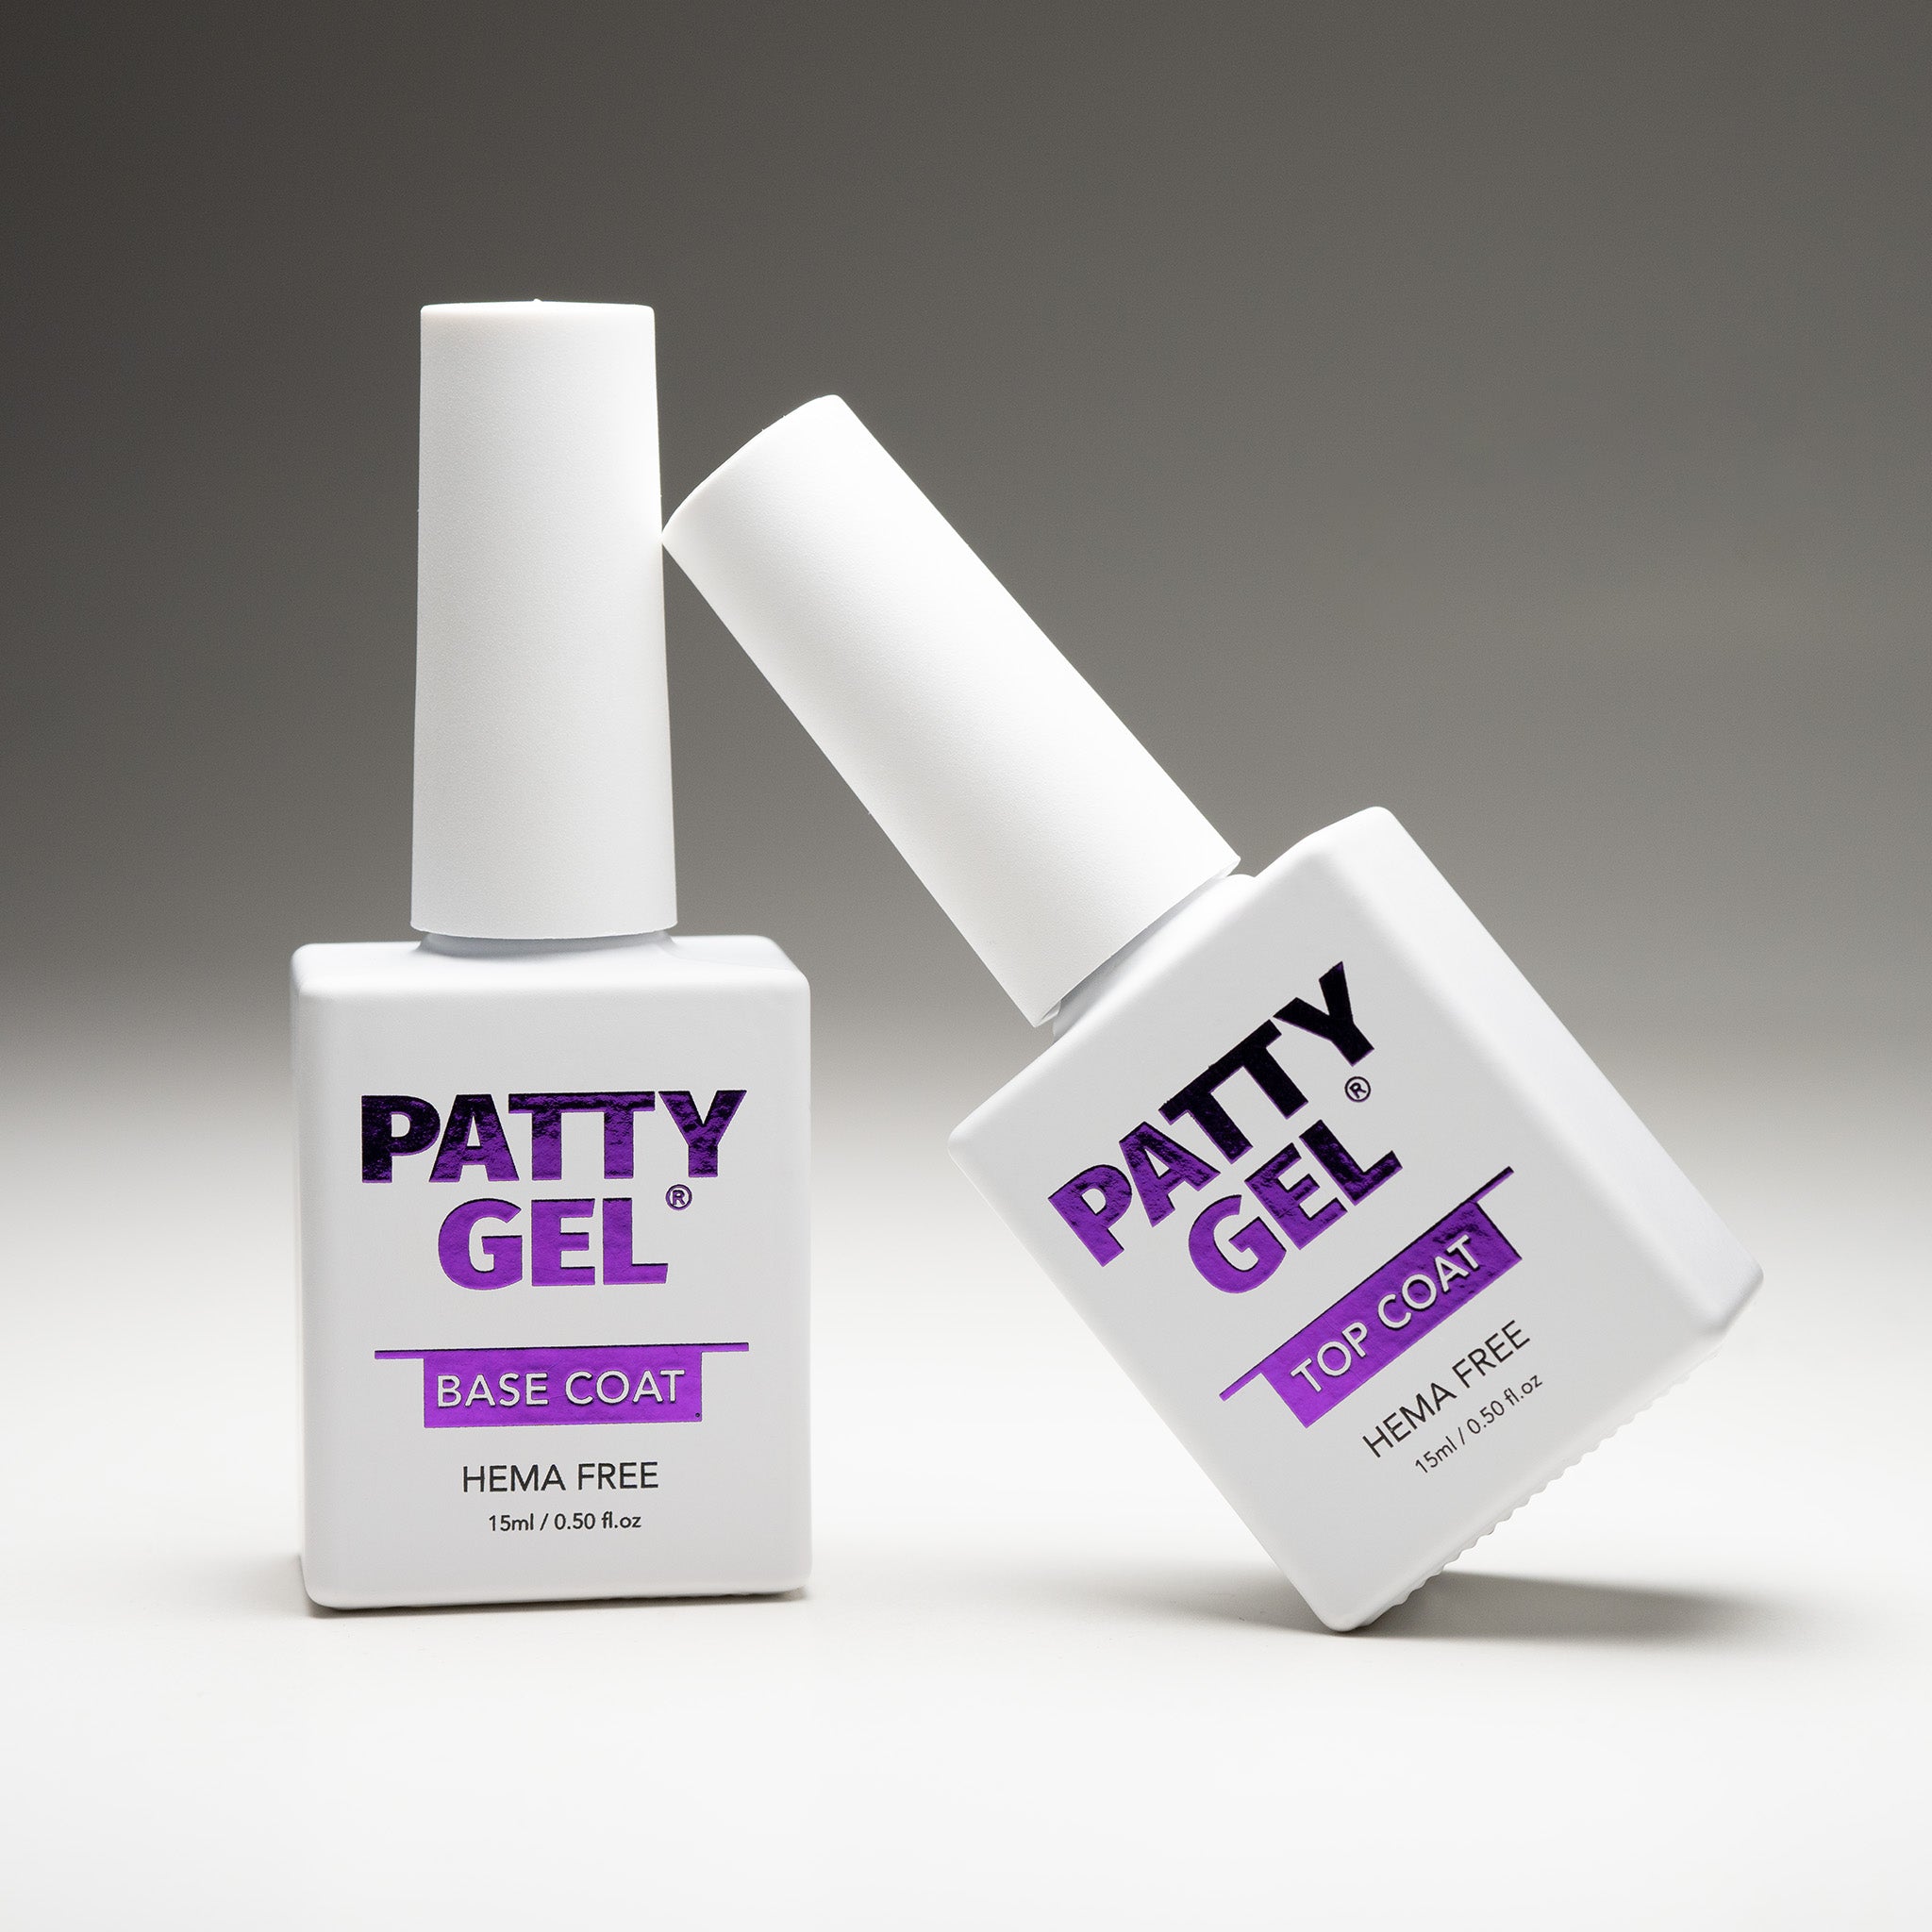
- Blend with builder gel and finish with a top coat that supports your desired shine
That’s the Glitterquarium Starter Kit Review: lots of sparkle, a few lessons learned the hard way, and a seal-and-test routine that finally made aquarium nails feel less stressful.