Long Hair Pretty Nails Show: Acrylic Fill, Almond Glitter Set, and Charms (No Kits, No Shortcuts)

Long Hair Pretty Nails Show: Acrylic Fill, Almond Glitter Set, and Charms (No Kits, No Shortcuts)
Hey y'all. Today I’m doing my own nails the way I want to do them. No kits, no product review, no algorithm chasing, just getting right into a full acrylic fill and design that feels like “me”.
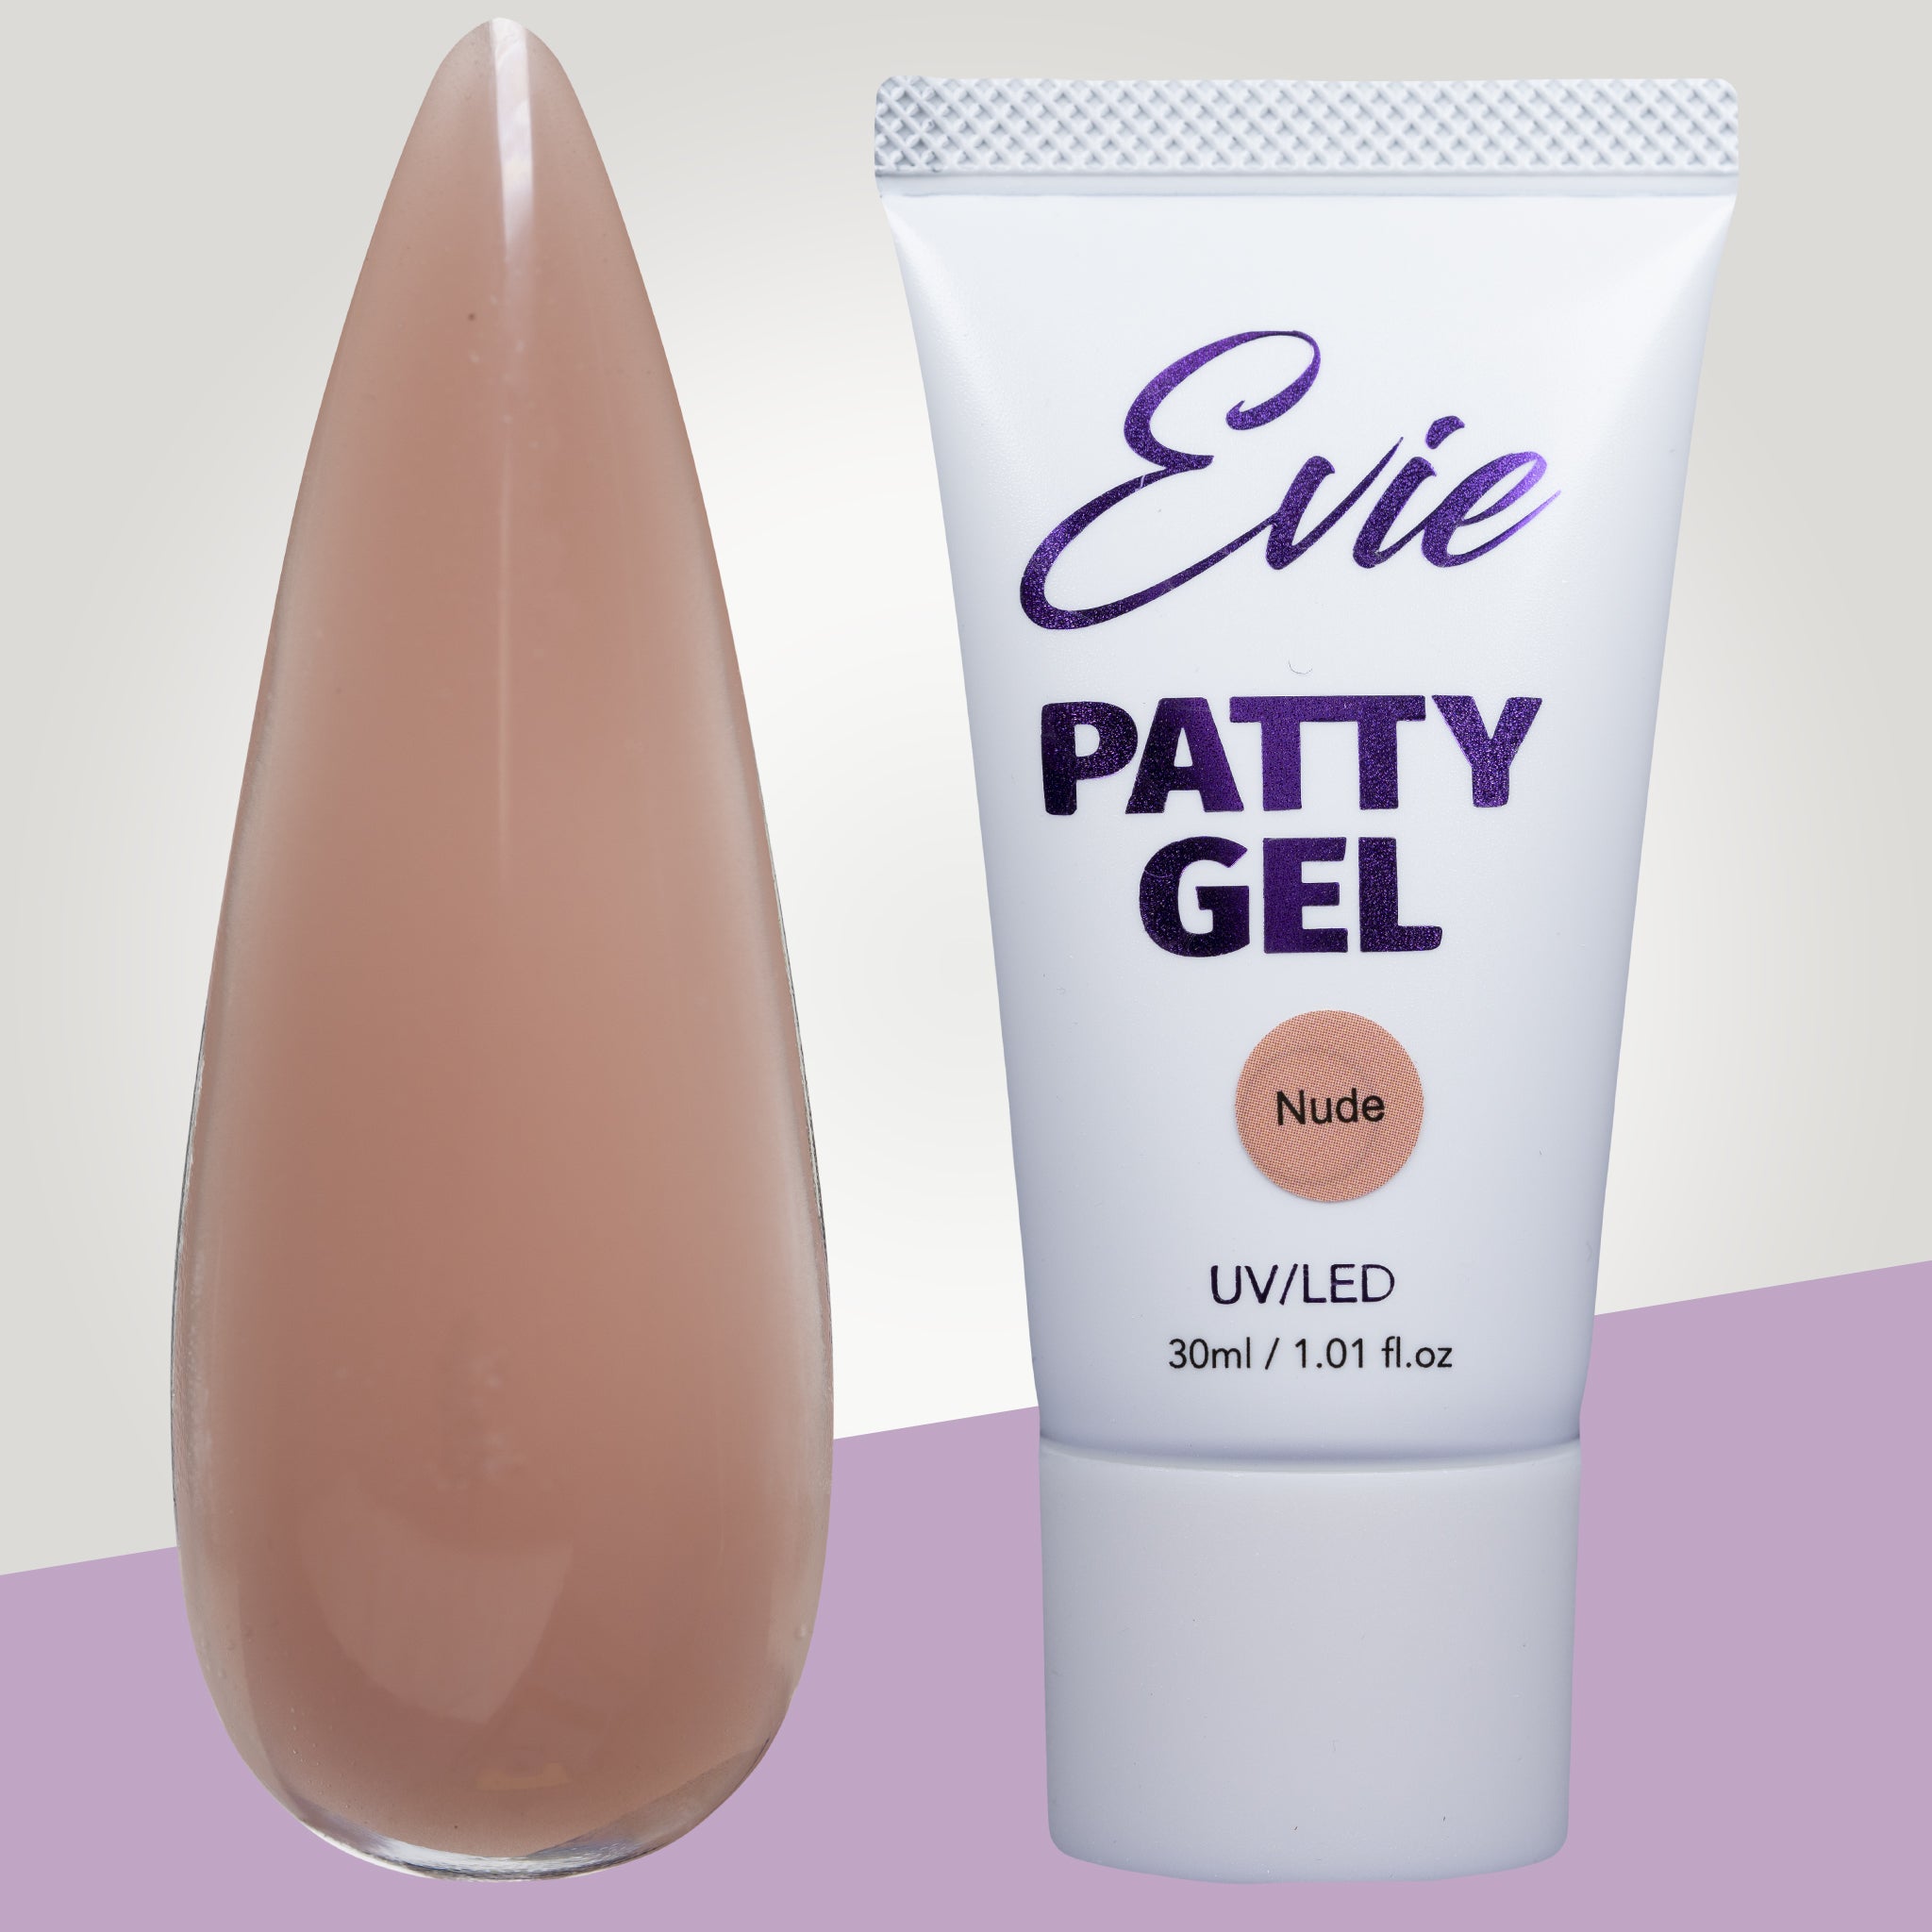
This set starts as a right-hand fill on acrylic I did a couple weeks ago, and it ends as a glittery almond shape with a bling moment at the end.
Table of Contents
- Prep for an acrylic fill: cuticles, lifting, and surface smoothing
- Build the shape: taper corners for almond, thin the tips, and use paper forms
- Primer and base acrylic: start thin so glitter can sit right
- Glitter placement: chunkier in the center, fine near the cuticle
- Encapsulate: keep it clear, avoid air bubbles, and build structure
- Shape, file, and seal the cuticles: turn uneven lengths into one clean set
- Top coat and full cure
- Charms with a thick, non-wipe “crazy top” gel
- Finished look: shimmer in low light, sparkle everywhere
- FAQ
Prep for an acrylic fill: cuticles, lifting, and surface smoothing
I’m working on a right-hand fill because the acrylic overlay I placed a couple weeks ago is now ready for maintenance. It’s been cold where I am, so my skin is extra dry, but the nails still need proper prep.
1) Push back cuticles
I start by pushing back my cuticles. The goal is to expose what needs to be cleaned up and to prep the acrylic for a seamless rebuild.
2) E-file the lifted area
Next, I grab my e-file and set it around 10 to 11. I work around the cuticle area, removing lifted acrylic crust and any crusty skin that might interfere with adhesion.

3) Clip the cuticles
After that, I use cuticle scissors to clip the cuticles. I usually bounce between nipping and e-filing, but today I’m clipping them.
For my thumb specifically, I also focus on lifting. I clip off some lifted area, then use a sanding band to sand down the product where I need it to thin out and smooth.
4) Thin the acrylic so thickness stays controlled
Because I’m extending these nails, I take down a good amount of product so the nails do not get overly thick. I also make sure the acrylic surface feels smooth against my natural nail before moving on.
Important little note: I figured out why my thumb lifts so bad. When I was filming a short earlier, I forgot to put primer on my thumb. This time, I made sure to include primer correctly.
Build the shape: taper corners for almond, thin the tips, and use paper forms
Once the surface prep is done, I move into shaping and building.
Clip and taper the corners
My natural nails were a little too square. I want an almond shape, which means tapering the corners so the sides do not stick out.
Then I use a hand file to thin out the tip. Since I am extending, I do not want the tip too thick. I want the extension to blend seamlessly with the nail.

Apply paper nail forms
Now comes the extension part. I use paper nail forms and apply them to extend the length. I like to roll the forms in my hand to close them up and get them fitted.
I also line up the form with my knuckle. That matters because my natural nails do not always grow straight. I can see mine growing out and starting to angle left, so the form placement needs to be intentional.
Primer and base acrylic: start thin so glitter can sit right
Apply primer (and do not skip your thumb)
Before I apply acrylic, I use Super Bond by VbeeP as my primer. This time I made sure it went on my thumb too.

First bead of clear acrylic for extension
I apply my first bead of clear acrylic to the tip. I use a little wetter bead than usual because I want a thin base that extends the nail without adding bulky thickness.
The thinner tip helps later because when I apply more acrylic, it blends better and does not turn into a thick ridge.
Tiny side wall for crooked growth
I am trying something new with shape. I usually do coffins, but this time I’m going for almond. And because my natural nails grow crooked, I add a side wall to correct the overall look.
I take my time here because this side structure sets the foundation for the final shape.
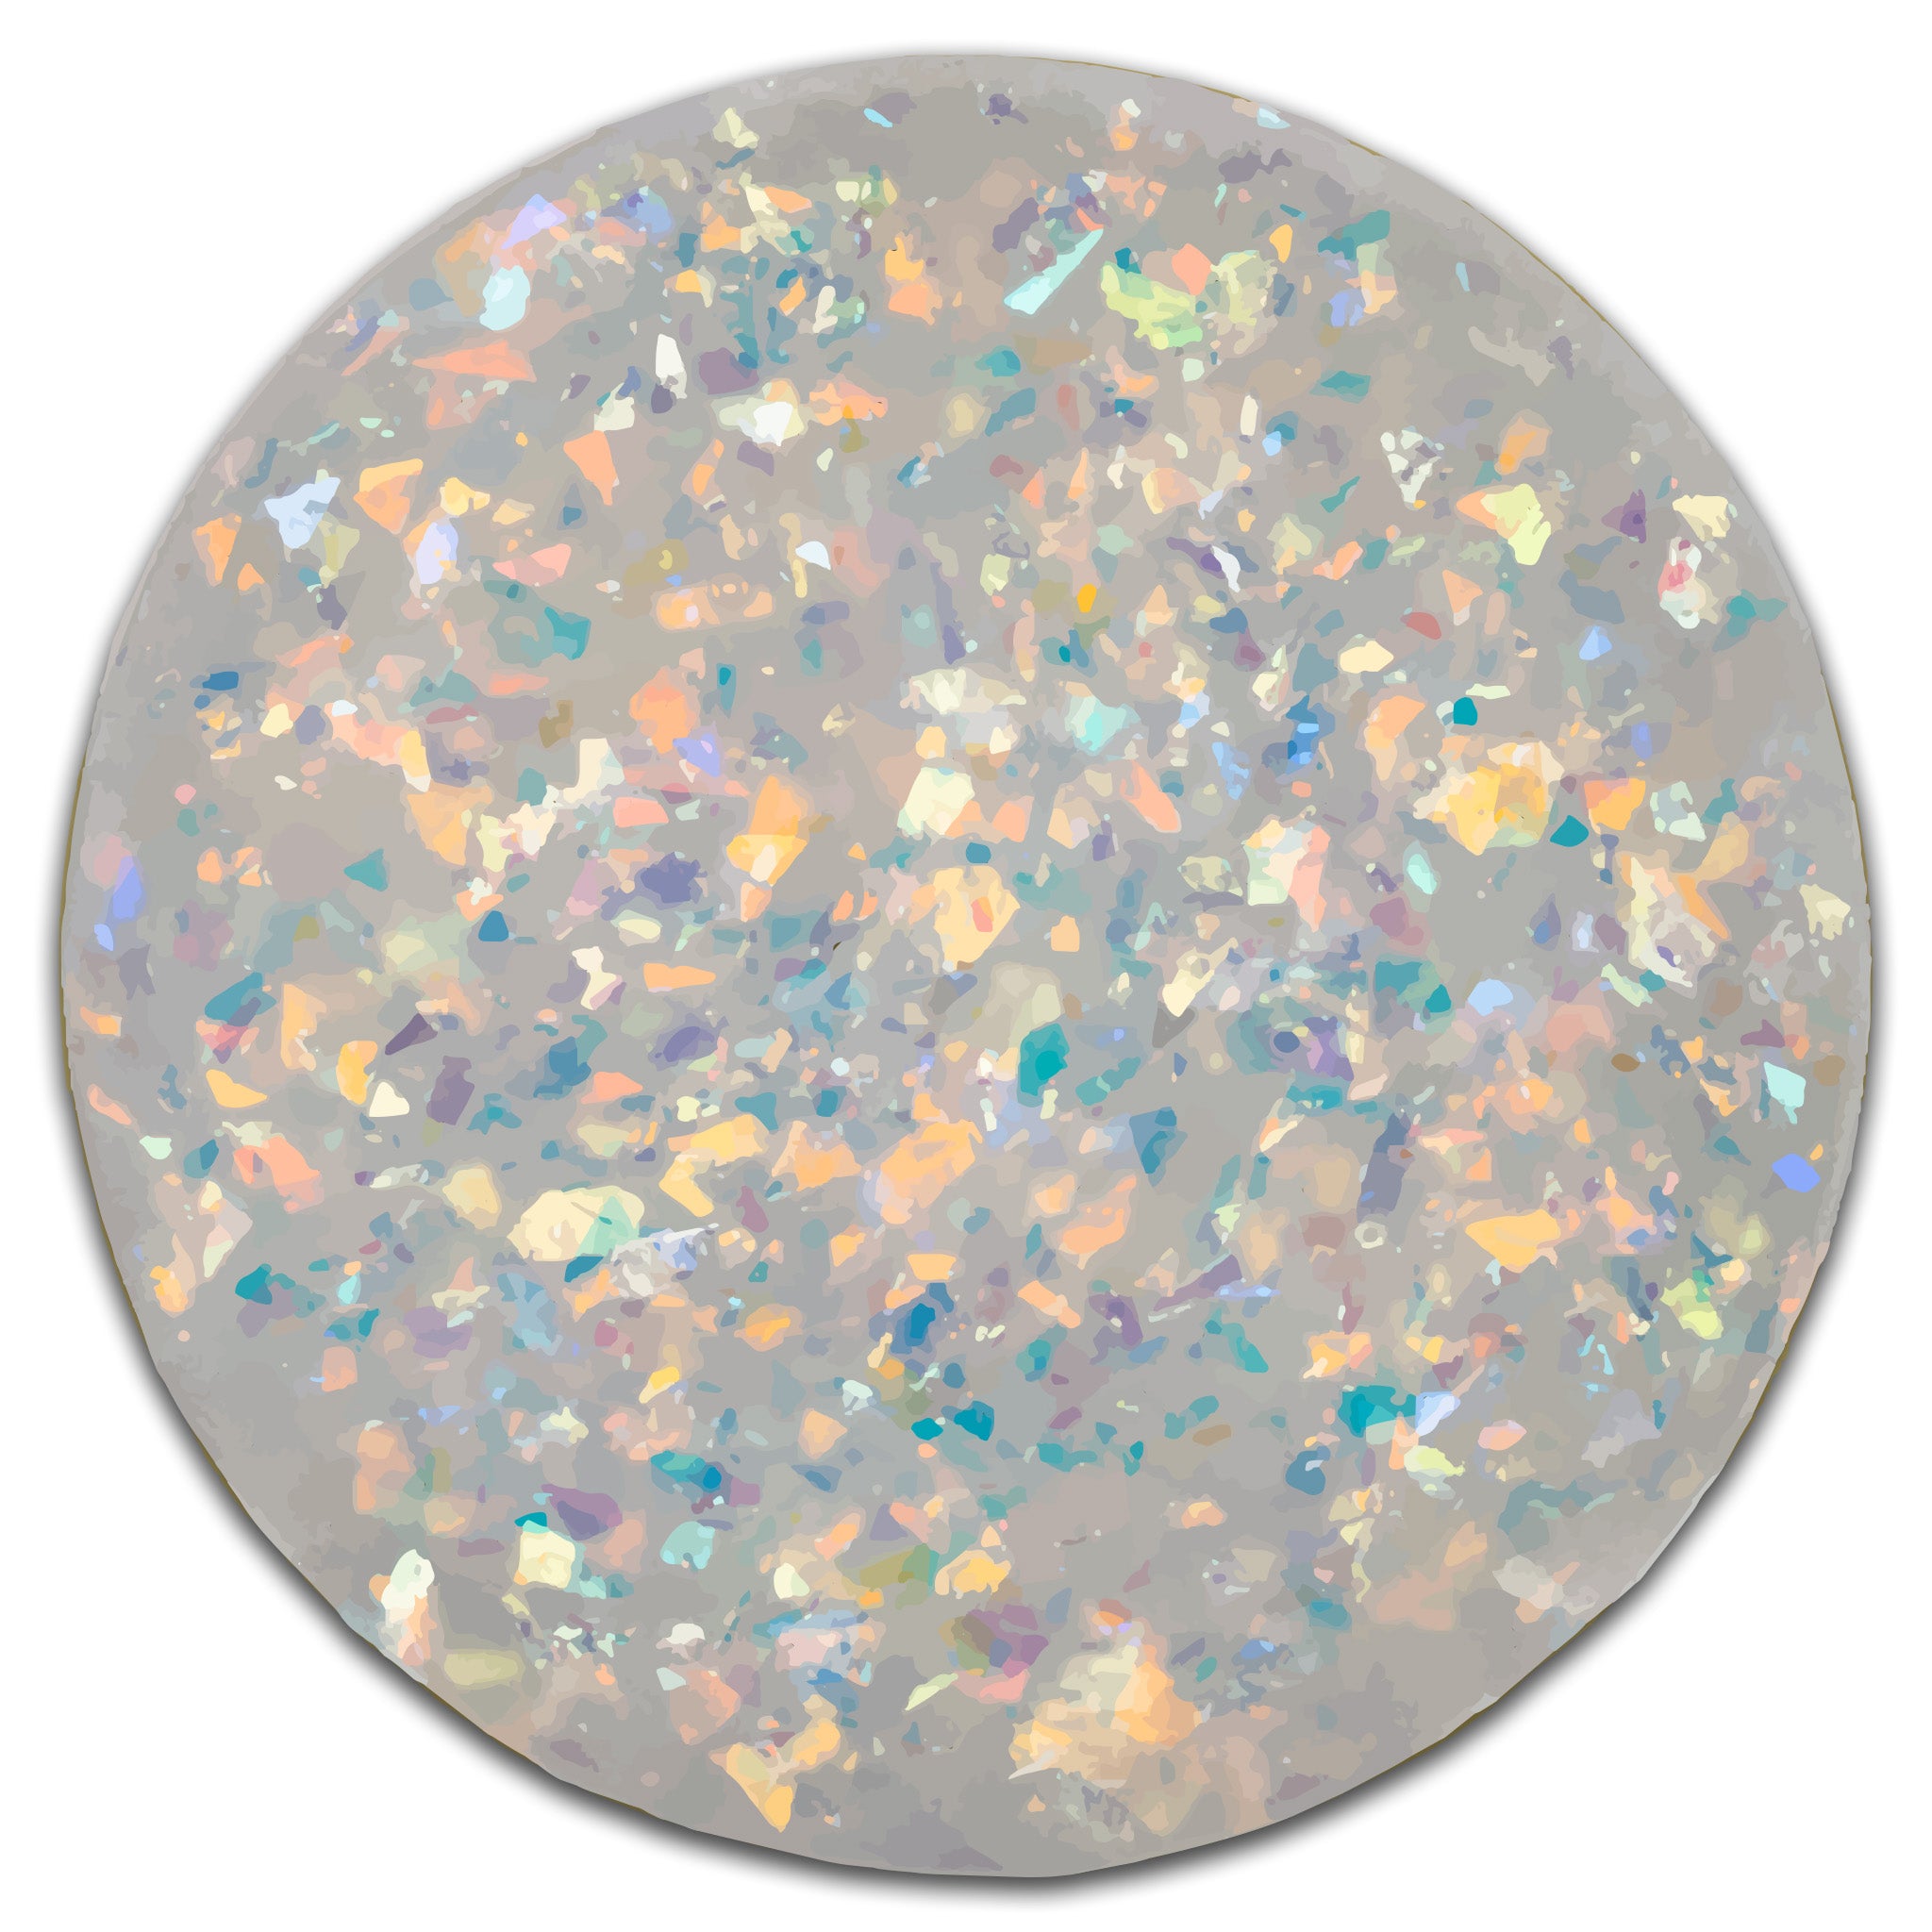
Glitter placement: chunkier in the center, fine near the cuticle
Now the fun part: glitter.

Mix and place the chunky glitter first
I use clear acrylic plus my acrylic glitter. I start with the chunkier glitter and place it in the center. Then I add variation pieces: a purple variation and a blue one. I kind of mix them so the set has depth.
I work with the bead a little more wet so I can slide glitter pieces into place exactly how I want.
Use fine glitter toward the cuticle
Then I add fine glitter toward the cuticle area. This is one of my favorite looks because it gives the nails that “it gets smaller as it gets closer to the cuticle” effect.
I love when the contrast looks intentional: chunky sparkle in the middle, softer shimmer at the top.
Let glitter set before you move on
Because I work a little wetter, everything takes a bit longer to dry. I wait enough so I do not shift the placement when I move to the next nail.
Encapsulate: keep it clear, avoid air bubbles, and build structure
After the glitter is placed, I encapsulate. Encapsulating is one of my favorite steps, and I’m especially careful because I want the glitter to look crisp under the clear overlay.
Work wetter for detailed crevices
On the pinky, for example, I encapsulate the tip while working wetter so I can get into the crevices of the glitter. I also do not want to mess with it too much, because I do not want to create air bubbles inside.
I’m aiming for a basic almond shape while encapsulating, then I come back to form the cuticle bead after.

Thin, controlled cuticle beads
When it’s time for cuticle beads, I use a bead that is wet but not flooded. I am not looking to have monomer all over my cuticle area. That is one of my pet peeves when I see it on other sets. The cuticle area is not meant to be messy.
I also use this time to add a side wall because my nails can twist as they grow. Encapsulation is doing double duty: covering glitter and helping build the structure.
Use as many beads as you need
I do not force a “one bead or two beads” rule. I use as many beads as I need to build the nails correctly. I’m not trying to rush myself into stress.
Shape, file, and seal the cuticles: turn uneven lengths into one clean set
Once everything is laid, the nails look gorgeous but they are also going to be different lengths. That is expected because I build them longer first, then file into the final look.

Hand file first to set the overall shape
I use my hand file to shape the nails how I want them to be, then I smooth the top.
Use 100 grit for speed with acrylic
Filing acrylic takes a little more effort, so I like to move faster. I use 100 grit (even 80 when I need speed) to get the bulk down quickly.
Safety bit around cuticles
Then I go in with a safety bit. This helps thin around the cuticle areas so the nail looks like it’s growing from the finger, and it also takes down extra bulk.
For me, one of the biggest make-or-break details is the cuticles. I’m genuinely obsessed with making my cuticles look good.
Adjust length until it feels right
I decided the nails were still a little too long, so I filed them down even shorter. It was back and forth, but that is part of doing my own nails without any restraints. I ended up with a length I like.
Seal and refine the surface
After that, I use a cuticle bit to seal the cuticles. Then I use 180 to get rid of scratches from the 100 grit file. Finally, I buff.
Top coat and full cure
Then it’s top coat time. I do a full cure in my nail lamp.

Some people stop here, but I don’t. I have to stay true to myself, because I love bling.
Charms with a thick, non-wipe “crazy top” gel
I add charms at the end using a thick gel I like because it is strong and non-wipe. That matters because I do not have to deal with a tacky layer that makes charms slide around.

Place the gel glob, set the charm, then flash cure
I apply a bigger glob of the crazy top gel, place the charm into position, and then use a brush to guide the gel around the charm so it sits smoothly.
I also blend out the gel onto the nail so I do not like seams.
Once I like the placement, I do a flash cure. Because it is a large amount of gel, I hold it for a bit. Then I do a full cure again after all charms are placed.
Strategic placement
I place charms in a way that you can still see my natural nail when it looks like it might show. I typically do not like that look, but with charms and glitter, it works.
Finished look: shimmer in low light, sparkle everywhere
When everything is done, the set comes out really cute. I love the almond shape and the shimmer. In low light, the glitter and reflective pieces come to life.
So, would I wear these? Absolutely. Would you?
FAQ
Why does my acrylic lift, especially on one nail?
In my case, the thumb lifted because I forgot to apply primer on that finger during an earlier session. Primer is a key step for adhesion, so skipping it can cause lifting.
How do I keep glitter from shifting during acrylic work?
I work with a bead that is a little wetter so I can position glitter accurately, but I do not move on too fast. I give it time to dry enough so the placement stays put before I continue to the next nail.
What is the best way to place chunky glitter vs fine glitter?
I place chunky glitter in the center and then use fine glitter closer to the cuticle. I love the gradient effect: bigger sparkle mid-nail and more delicate shimmer at the top.
How do I shape almond when my natural nails grow crooked?
I taper the corners for almond and add a small side wall during the acrylic build. That helps correct the overall form while still keeping the final shape delicate.
Why use a thick non-wipe top gel for charms?
I use a strong non-wipe gel so I do not have a tacky layer that can cause charms to slide. The gel is also thick, which helps it hold charms in place while I position them.